
Ask AI
— answers from the official manualAnswers from the official manual.
Common questions
Common Questions
9 totalHow do I safely remove the splash guard from my ice cream maker?
To unlock and remove the splash guard, turn it in the direction of the picture which shows an “unlocked” lock. This will loosen the splash guard to allow removal.
What is the correct procedure for using the ice cream maker attachment?
To use the ice cream maker, first place the freezing bowl in the freezer for 24 hours. Add your prepared mix via the chute with the machine on minimum speed (setting 1). The machine will automatically turn off after 15 minutes and must be switched back on to continue until the ice cream is ready (about 30 minutes total).
Why should I wash all parts of the ice cream maker attachment before first use?
It is essential to thoroughly clean all parts of the ice cream maker attachment prior to initial usage, as detailed in section 'Before First Time Use', to ensure hygiene and optimal performance.
Should I store my freezing bowl after use?
It is recommended to store the freezing bowl in a plastic bag in your freezer so that it remains ready for immediate use next time.
How do I properly clean the attachment parts of the ice cream maker?
After removing and disassembling all parts, wash them with warm soapy water. Ensure that all parts are thoroughly dried to prevent ice film formation inside the mixing bowl.
What safety precautions should I follow when using the Ice Cream Maker?
Do not switch off until ready, never use metal utensils for removal, ensure hands are protected from cold, and discontinue use if a leak is detected to prevent potential hazards.
Full Manual
25 pages

5.2 L Food Mixer

Please read the manual fully before using the appliance and keep the manual safe for future reference.

1
Contents page
|Safety guide|Page 3| |---|---|
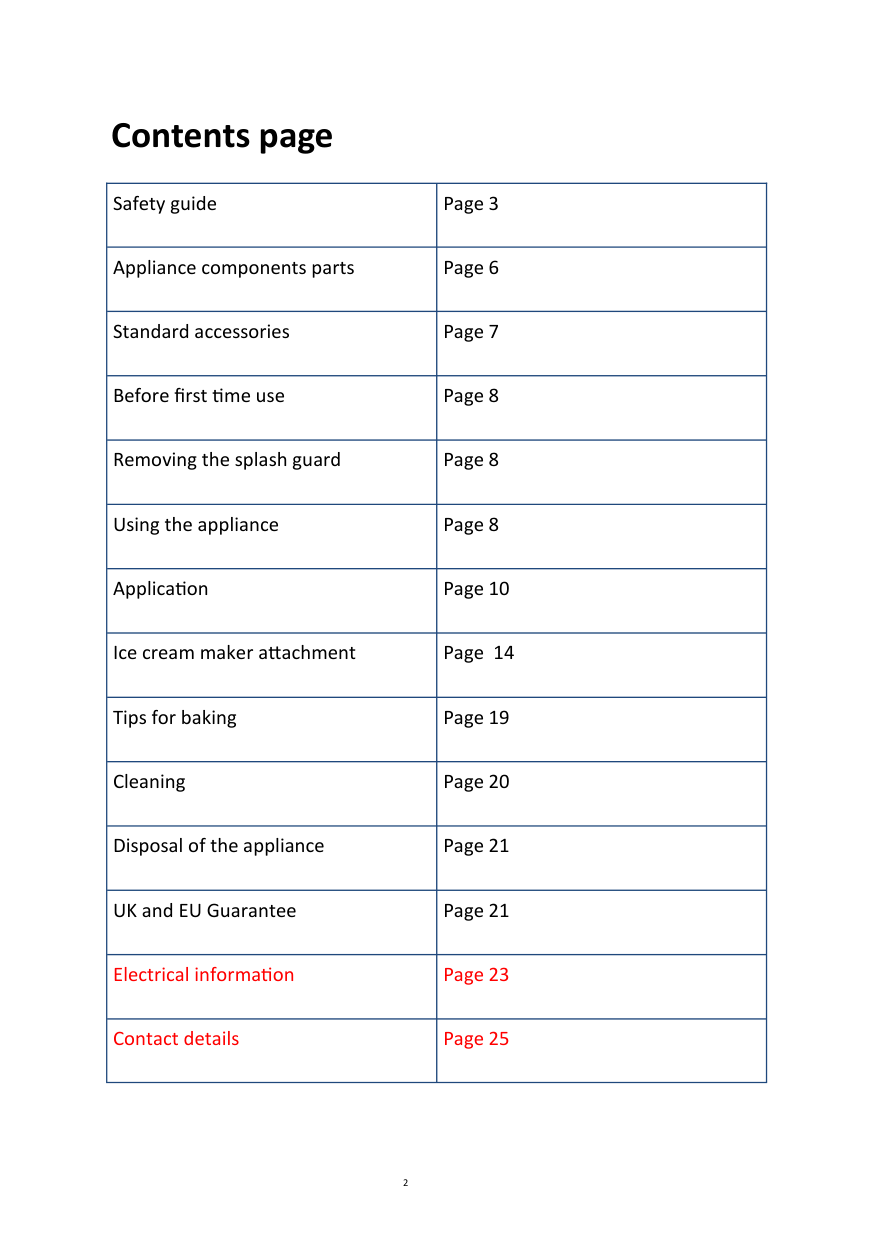
|Appliance components parts|Page 6| |Standard accessories|Page 7| |Before first time use|Page 8| |Removing the splash guard|Page 8| |Using the appliance|Page 8| |Application|Page 10| |Ice cream maker attachment|Page 14| |Tips for baking|Page 19| |Cleaning|Page 20| |Disposal of the appliance|Page 21| |UK and EU Guarantee|Page 21| |Electrical information|Page 23| |Contact details|Page 25|
2
General safety instructions
When using any electrical appliance, basic safety precautions should always be followed including:
Appliance specific safety instructions
extension cord is equal to or greater than the power consumption of the appliance to avoid overheating of the appliance and extension cord. Do not use any other appliance on the extension cord. Do not place the extension cord in a position where it can be pulled on by children or animals or be tripped over.
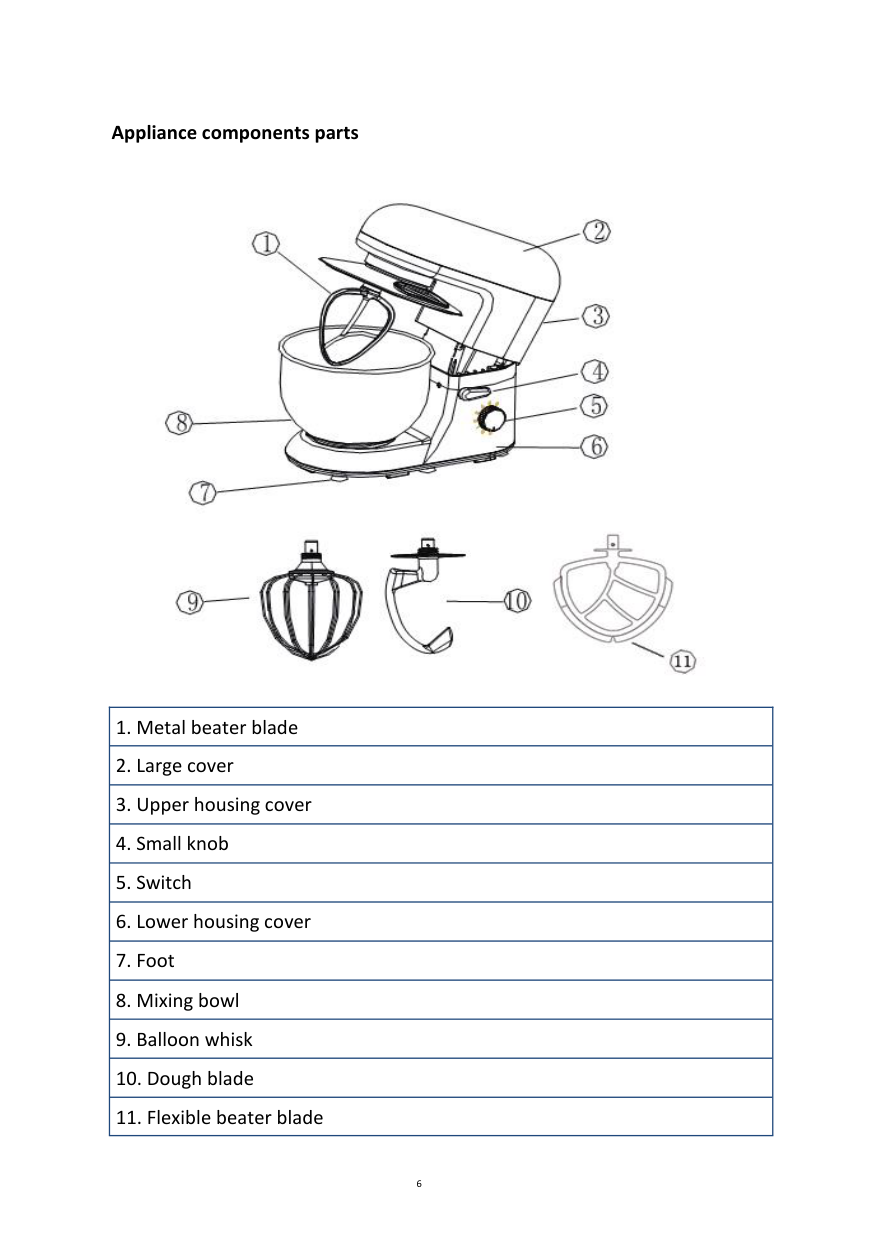
Appliance components parts

|1. Metal beater blade| |---| |2. Large cover| |3. Upper housing cover| |4. Small knob|
|5. Switch| |6. Lower housing cover| |7. Foot| |8. Mixing bowl| |9. Balloon whisk| |10. Dough blade| |11. Flexible beater blade|
Standard accessories
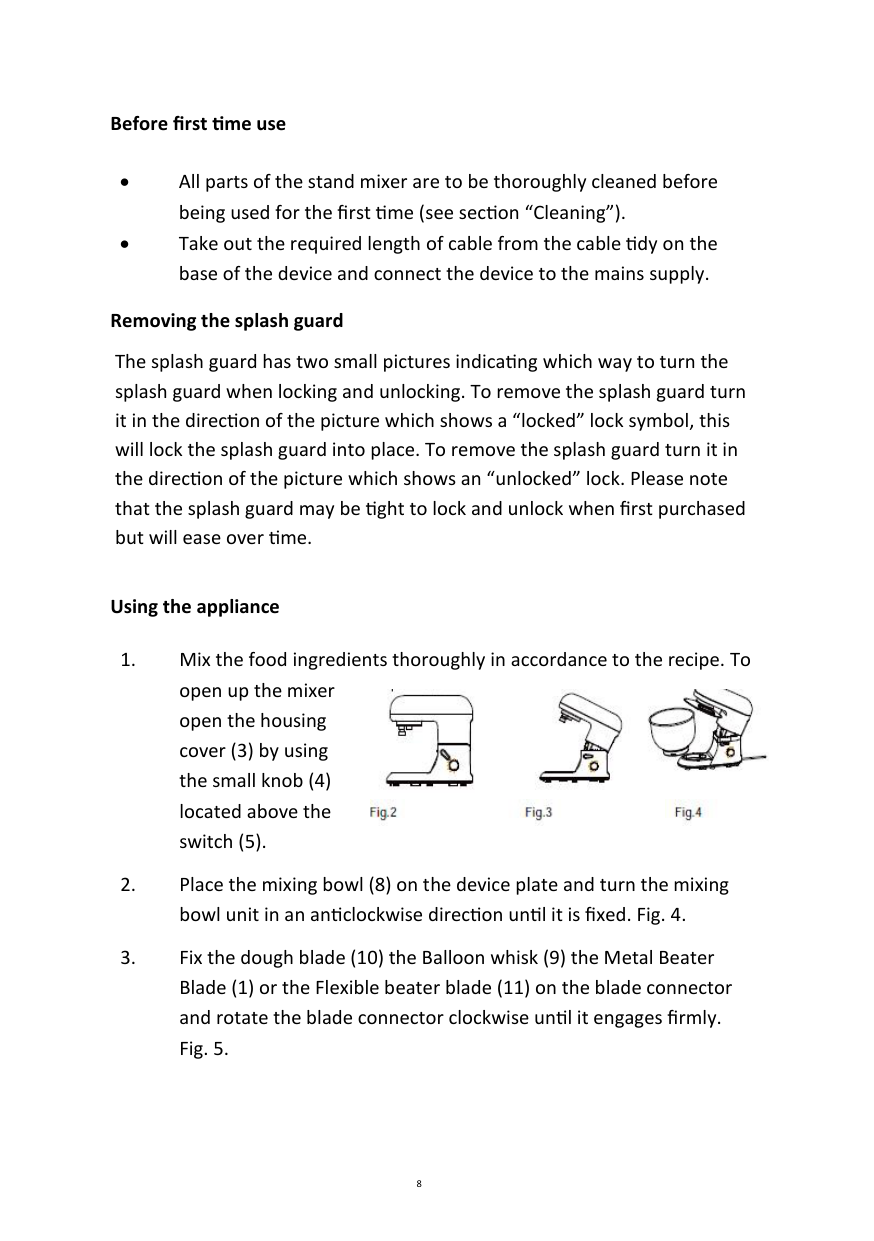
Before first time use
Removing the splash guard
The splash guard has two small pictures indicating which way to turn the splash guard when locking and unlocking. To remove the splash guard turn it in the direction of the picture which shows a “locked” lock symbol, this will lock the splash guard into place. To remove the splash guard turn it in the direction of the picture which shows an “unlocked” lock. Please note that the splash guard may be tight to lock and unlock when first purchased but will ease over time.
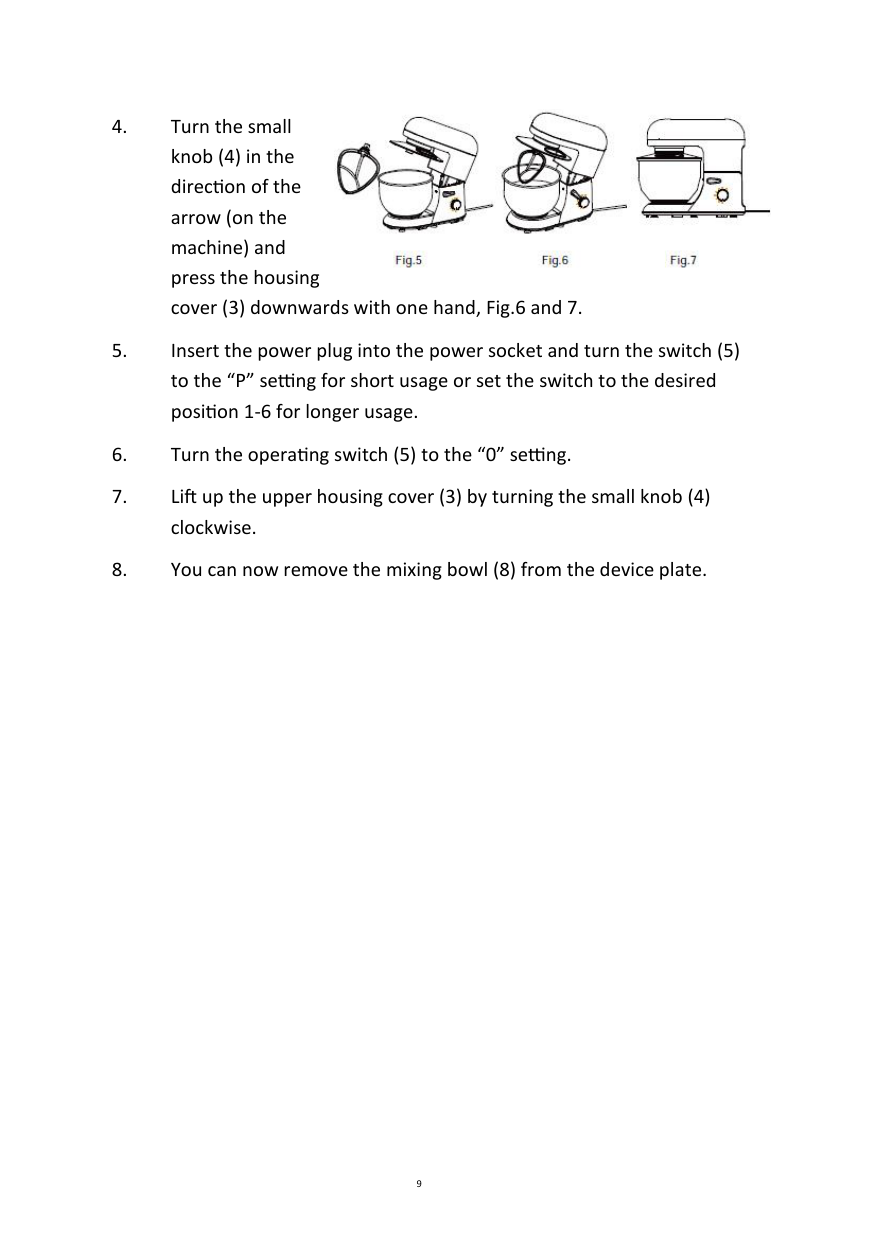

Using the appliance

Application
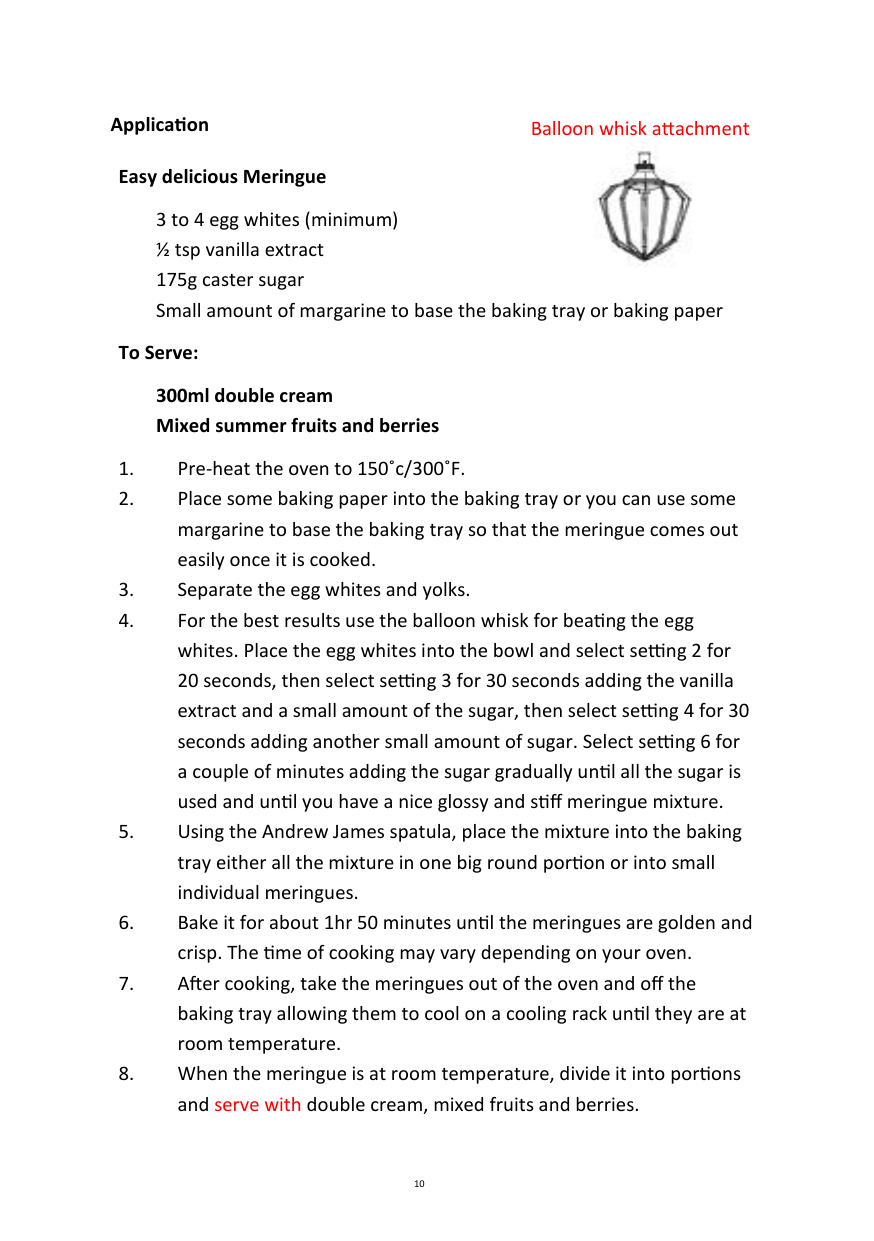
Balloon whisk attachment

Easy delicious Meringue
3 to 4 egg whites (minimum) ½ tsp vanilla extract 175g caster sugar Small amount of margarine to base the baking tray or baking paper
To Serve:
300ml double cream Mixed summer fruits and berries
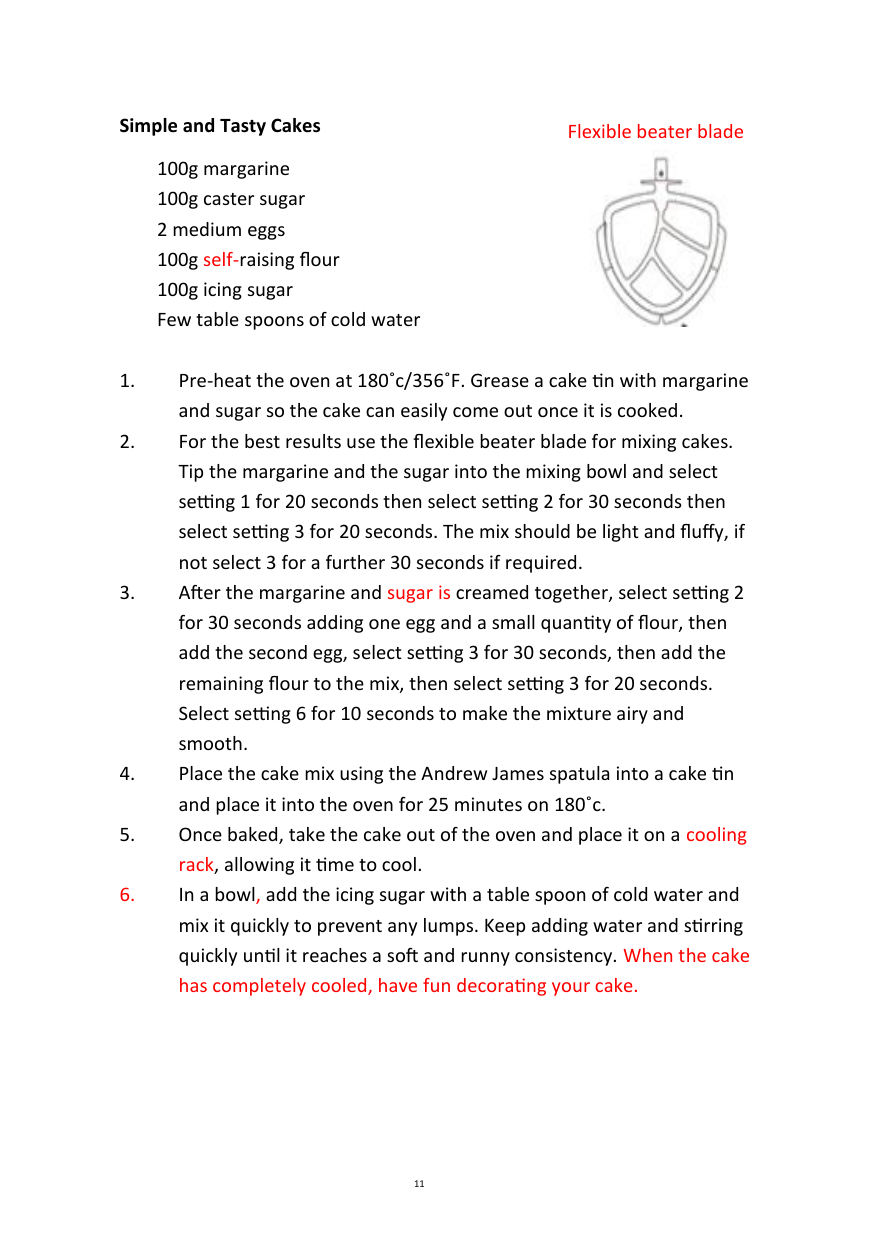
Simple and Tasty Cakes
100g margarine 100g caster sugar 2 medium eggs 100g self-raising flour 100g icing sugar Few table spoons of cold water
Flexible beater blade
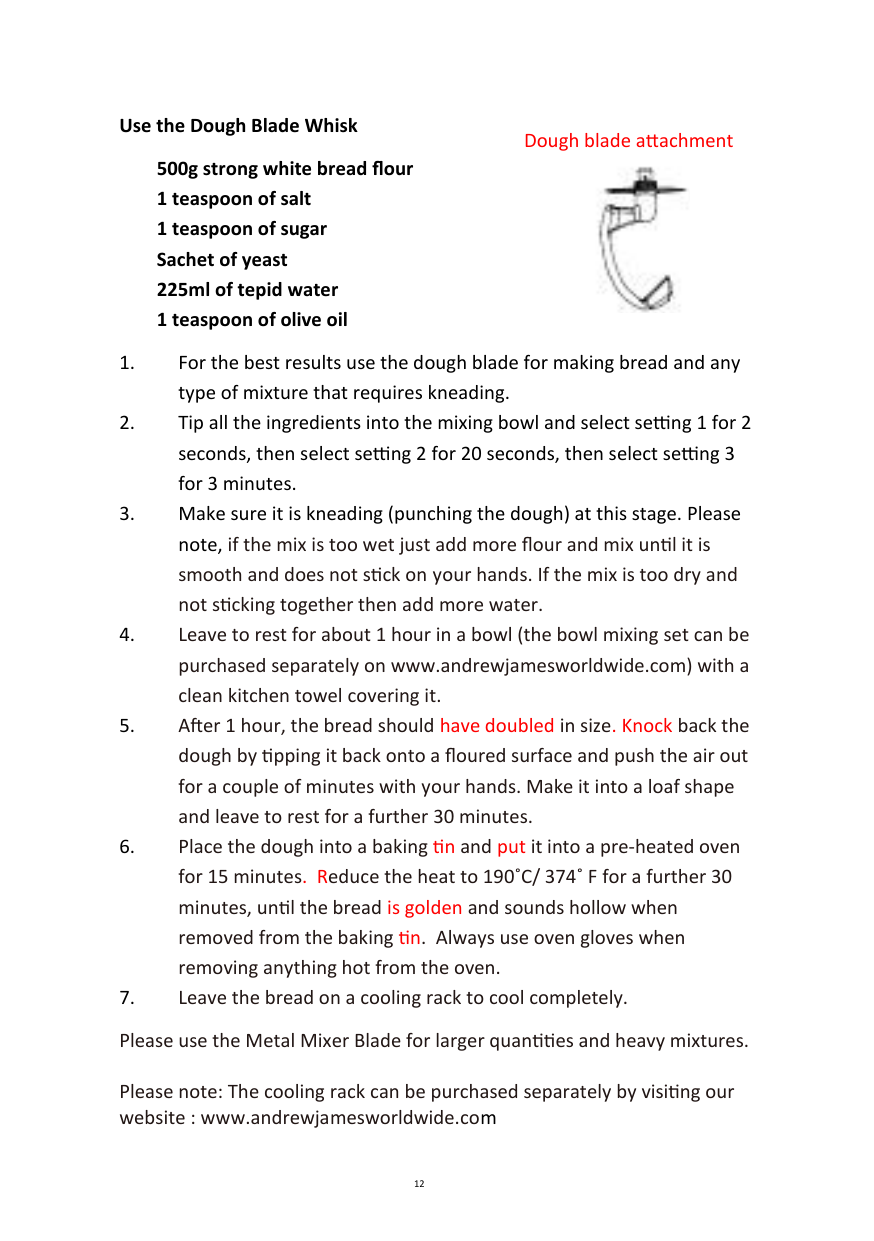


Use the Dough Blade Whisk
Dough blade attachment
500g strong white bread flour 1 teaspoon of salt 1 teaspoon of sugar Sachet of yeast 225ml of tepid water 1 teaspoon of olive oil
Please note: The cooling rack can be purchased separately by visiting our website : www.andrewjamesworldwide.com


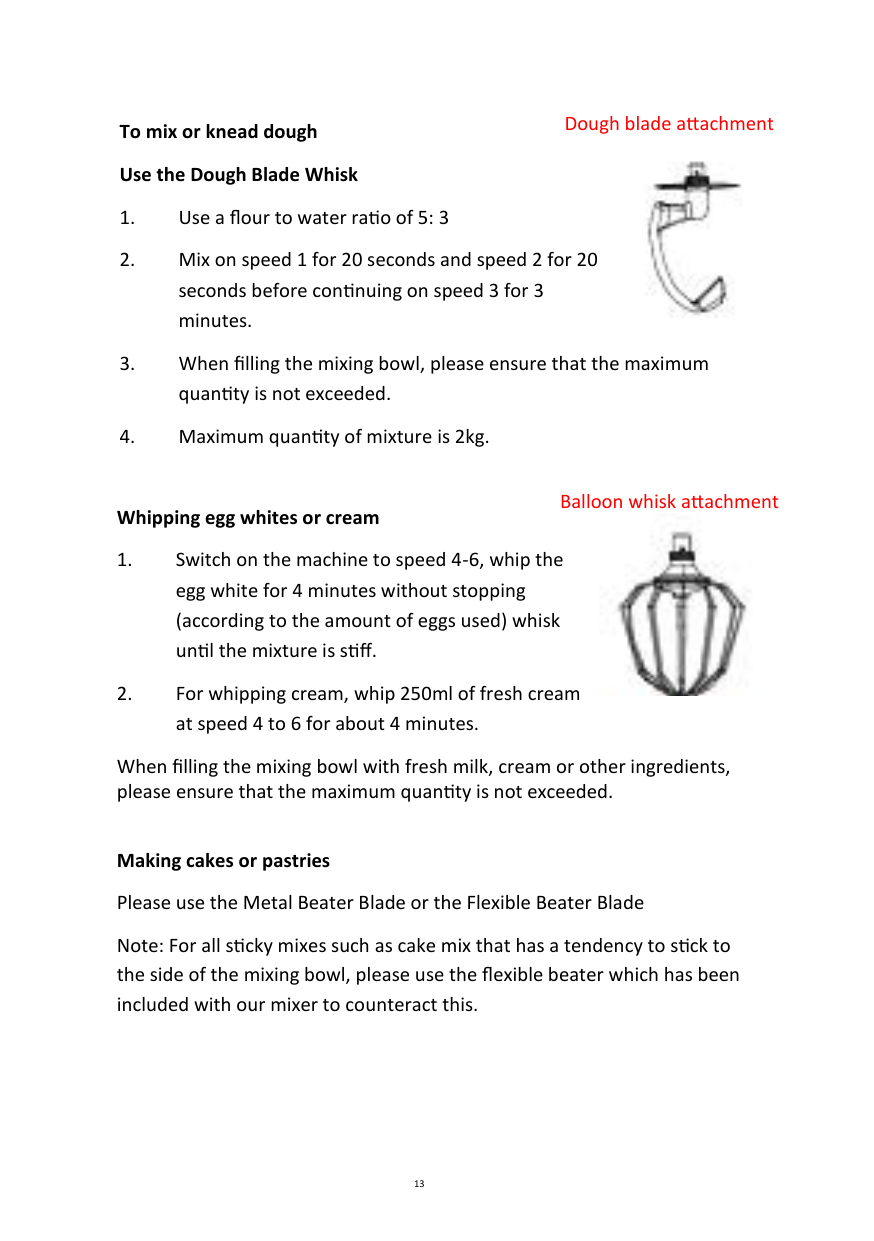
Dough blade attachment
To mix or knead dough Use the Dough Blade Whisk
Balloon whisk attachment
Whipping egg whites or cream
When filling the mixing bowl with fresh milk, cream or other ingredients, please ensure that the maximum quantity is not exceeded.
Making cakes or pastries Please use the Metal Beater Blade or the Flexible Beater Blade
Note: For all sticky mixes such as cake mix that has a tendency to stick to the side of the mixing bowl, please use the flexible beater which has been included with our mixer to counteract this.
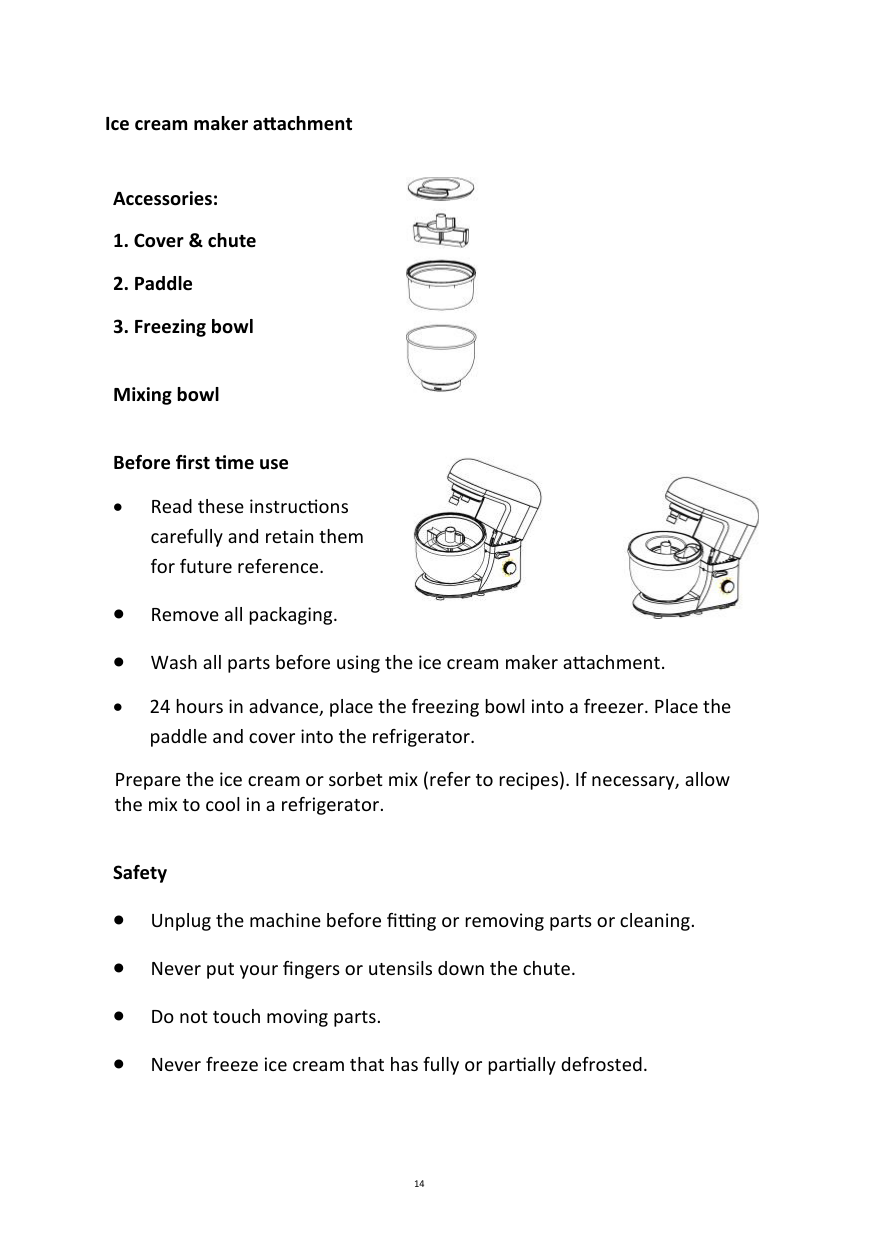
Ice cream maker attachment

Accessories:
Mixing bowl
Before first time use
Prepare the ice cream or sorbet mix (refer to recipes). If necessary, allow the mix to cool in a refrigerator.
Safety
Using your ice-cream maker
If the ice cream or sorbet is not to be used immediately, spoon the mix into a suitable container and store it in a freezer until it is required. Notes
In order for the Ice Cream Maker to be operated safely and successfully, the following guidelines should be followed:
Cleaning
It is recommended to store the freezing bowl in a plastic bag in your freezer so that it is always ready for use.
Recipe suggestions Vanilla Ice cream Ingredients: 500ml/1 pt full fat milk 125ml/1/4 pt single cream 5ml/1 tsp vanilla essence 150g/6 oz caster sugar Instructions
Pour the mix into the Ice Cream Maker and mix until firm (about 30 minutes) Variations: Chocolate - Omit the cream and replace it with 100g/ 4 oz of plain chocolate that has been melted in a basin over a pan of boiling water. Nut - add 100g/4 oz of chopped nuts to the ice cream mix just before serving.
Strawberry Ice cream Ingredients 400g/1 lb. ripe strawberries 200ml/ 8fl oz double cream 75g/3 oz caster sugar Juice of ½ lemon Instructions:
Variations: Strawberries can be substituted for any soft fruit. The sweetness of the mix will depend on the fruit used, so remember to test it for sweetness before freezing. Please note: the length of time that the mix takes to freeze depends on:
Tips for baking
Cleaning
Disposal of the appliance
Please note that this Andrew James product is mark with this Symbol:
This means that this product must not be disposed of together with ordinary household waste, as electrical and electronic waste must be disposed of separately.

In accordance with the WEEE directive, every member state must ensure correct collection, recovery, handling and recycling of electrical and electronic waste. Private households in the E.U. can take used equipment to special recycling stations free of charge. In certain member states used apparatus can be returned to the dealer where they were bought on the condition you buy new products. Contact your retailer, distributor or the municipal authorities for further information on what you should do with electrical and electronic waste.
UK and EU Guarantee
Your new Andrew James product comes with a 24 month guarantee and a 2 year fixed warranty, effective from receipt confirmation. Your receipt or order number is required as proof of purchase date so it is imperative that you keep it safe. This guarantee only applies if the item has been used solely for the use intended, and all instructions have been followed accordingly. Please note this product is for domestic use only and not for commercial use.
Abuse of your product will invalidate the guarantee. Returned goods can only be accepted if repackaged properly within the original colour product box, and presented with the original receipt of sale/order number. This does not affect your statutory rights.
Returned products must be cleaned and returned to us in as close to delivery condition as possible.
If your product develops a problem within the first 12 months of the fixed
warranty, we will pay all shipping costs to have it returned to us. After 12 months the customer will be liable for the cost of returning the product to us. We will then pay to have the repaired/replaced item shipped back to the customer.
If you wish to return your item for a full refund, you have the right to do so within the first 7 days. For our returns policy please go to www.andrewjamesworldwide.com
Customers are responsible for any taxes applied to our products when they are shipped outside of the EU.
All of our prices are inclusive of VAT. Once a product has been returned to us, we will aim to repair or replace it within 30 days of receipt. The guarantee does not cover any defect arising from improper use, damage, build-up of lime scale or repair attempts made by third-parties. Also, the guarantee does not cover normal wear and tear of individual parts.
Electrical information
Please note:
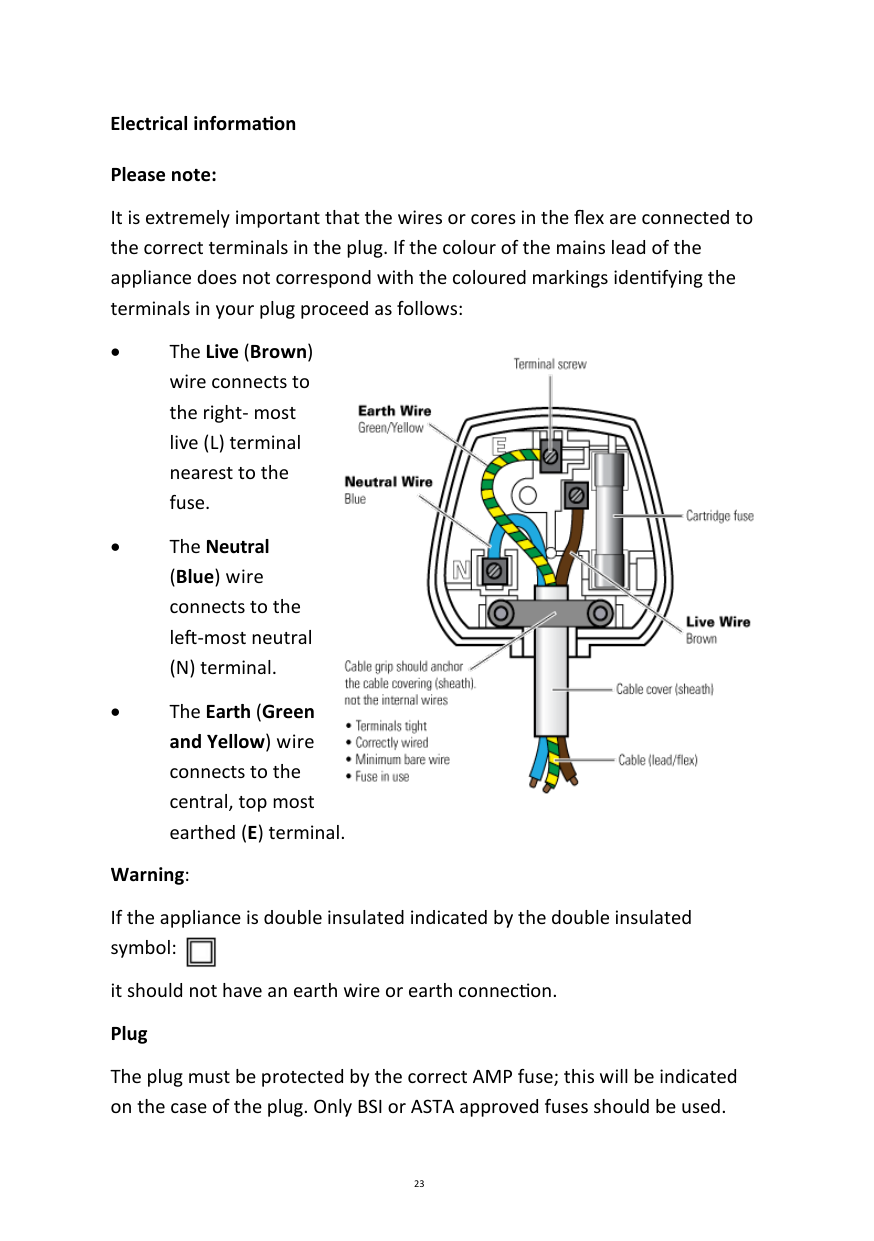
It is extremely important that the wires or cores in the flex are connected to the correct terminals in the plug. If the colour of the mains lead of the appliance does not correspond with the coloured markings identifying the terminals in your plug proceed as follows:

Warning:
If the appliance is double insulated indicated by the double insulated symbol:

it should not have an earth wire or earth connection. Plug
The plug must be protected by the correct AMP fuse; this will be indicated on the case of the plug. Only BSI or ASTA approved fuses should be used.
When changing the fuse always replace it with a fuse that is of the same identical rating as the original. If you are unsure about which plug or fuse to use, always refer to a qualified electrician.
Please note after replacing the fuse, ensure that the cover is correctly fitted back onto the plug. Never attempt to run the appliance if the plug does not have a cover. If a moulded plug is fitted and has to be removed take great care in disposing of the plug and severed cable, it must be destroyed to prevent it from engaging into a socket. If the supply cord is damaged it must be replaced by a service agent or a similarly qualified person in order to avoid a hazard. All of our electrical appliances conform to pre-existing EC Directives 2006/95/EC (Low Voltage Directive) and 2004/108/EC (EMC Directives).
For further information please visit http://www.esc.org.uk/industry/ product-safety/product-testing-screening/kitchen-appliances/
Contact Details Andrew James UK LTD Unit 1 P C Henderson Premises Bowburn North Industrial Estate Bowburn Co Durham DH6 5NG Customer Service / Technical Support- Telephone 0844 335 8464 (Monday – Friday 9am -9pm) (Saturday – 9am -5pm) (Sunday – 10am -4pm) Customer Service/ Technical Support Email: [email protected] Website: www.andrewjamesworldwide.com Copyright Andrew James