The Z420 is the Z440's predecessor, announced in March 2012 on Intel's Sandy Bridge Xeon E5, refreshed with Ivy Bridge Xeon E5 v2 in September 2013, and succeeded by the Z440 in September 2014. If you're reading this, you probably have one in service, you're shopping the used market, or you're choosing between a Z420 and a Z440 listing. The short version: same chassis design, same build quality, two-generation gap on the CPU, similar service profile. The Z420 typically commands a meaningfully lower used-market price than a comparable Z440, and for many workloads it's still enough.
This page covers what's specifically different about the Z420, and what to keep an eye on after a decade in service.
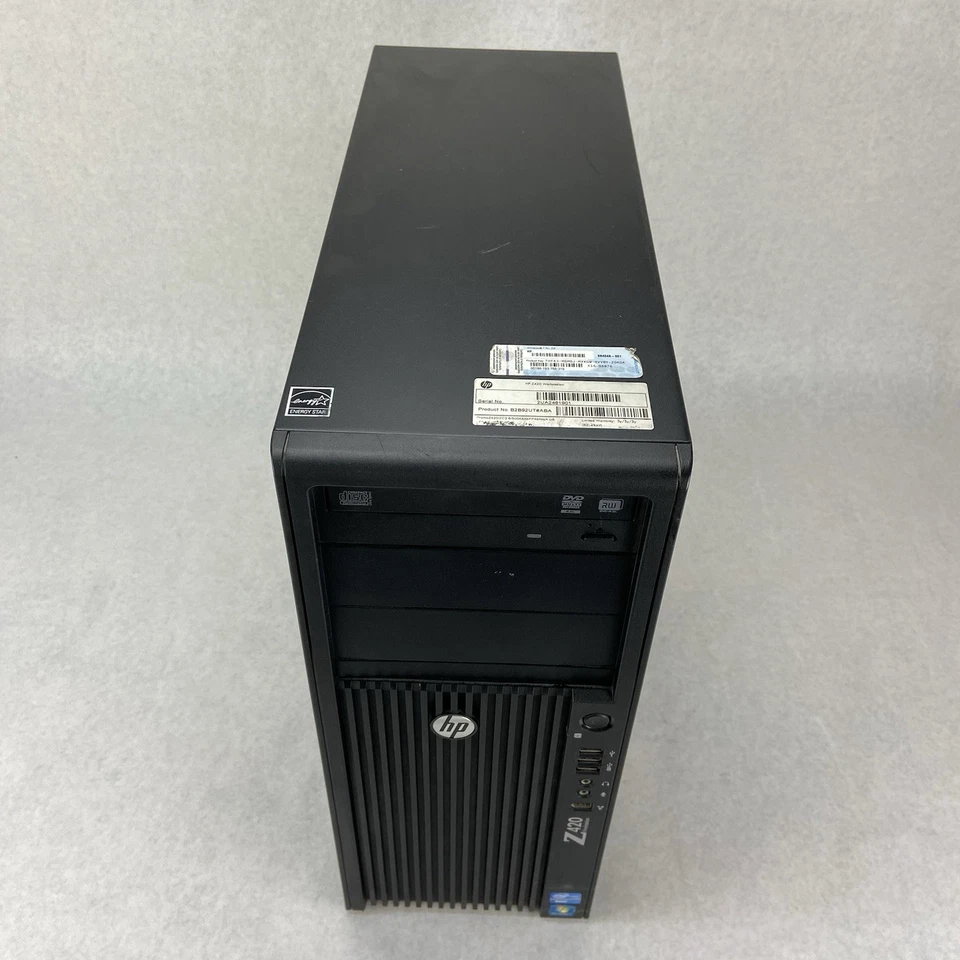
Z420 vs. Z440 — what changed and what didn't
Same chassis design. Tool-less side panel, integrated handles, same drive cage approach, same thermal architecture. Service procedures translate one-to-one. If you've worked on a Z440, you'll work on a Z420 with no surprises.
Same clearance requirement. 15.24 cm (6 inches) front and back. Same intake geometry, same filter approach, same consequences if you ignore it.
Different CPU socket. Z420 is LGA 2011 (not 2011-3). Xeons that fit a Z420 don't fit a Z440 and vice versa. CPU upgrades within the Z420 are limited to E5-1600 and E5-2600 v1/v2. The top-end Z420 chip is roughly equivalent to a low-mid Z440 chip in absolute performance.
Different memory. Z420 takes DDR3 ECC, not DDR4. 8 DIMM slots, 64GB max practically (128GB theoretical with rare 16GB DIMMs). Z440 jumps to 128GB max with normal 16GB DDR4 DIMMs.
Same power supply approach. 600W standard. PSU connectors are similar enough that GPU upgrades work cleanly through the Z420 generation.
If your workload is single-threaded and modern (a recent CAD app, modern Adobe suite, a game or two), the Z440 is meaningfully faster. If your workload is older / well-threaded / IO-bound (older render pipelines, file servers, virtualization labs), the Z420 still pulls its weight and saves you 50% on the used purchase.
What's worth checking before you buy a used Z420
The PSU date. Original Z420 PSUs are now 10+ years old. If the listing photo shows a fresh-looking PSU sticker, fine. If it looks original and yellowed, plan on a replacement within a year or two. Power supplies on this generation degrade quietly — outputs drift before they fail, and a PSU with drifting rails causes weird "random hangs" that look like RAM or CPU issues.
Capacitor age. Pop the side panel and look at the motherboard caps. Bulging or leaking electrolytics are the death sentence for boards this age. Most Z420s look fine. The bad ones are obviously bad.
The dust filter. Behind the front bezel. If it looks like the previous owner never cleaned it, the fans have been running hard. Check the fan bearings (power on, listen — bearing whine at idle is a tell).
Thermal paste age. Stock paste is 10+ years old. Even on a "lightly used" Z420, plan a re-paste in your first month of ownership. Drops idle temps 10-15°C reliably on these.
BIOS check, in case it matters
Power on, press Esc, then F10 for the Setup utility. File → System Information shows the BIOS version. The Z420 went through several BIOS revisions, including ones that fixed memory training on certain DIMM combinations. Worth comparing your installed version against the latest on HP's Z420 support page and updating if you're behind.
Source: page 5 of the user guide
Setup notes you'll only need once
First boot. Connect mouse, keyboard, monitor, and power cord. Plug the power cord into an easily accessible AC outlet — the manual is firm about this for safety reasons (you should be able to disconnect power without rearranging your desk in an emergency). The chassis ground is via the AC plug, so don't use cheap two-prong adapters.
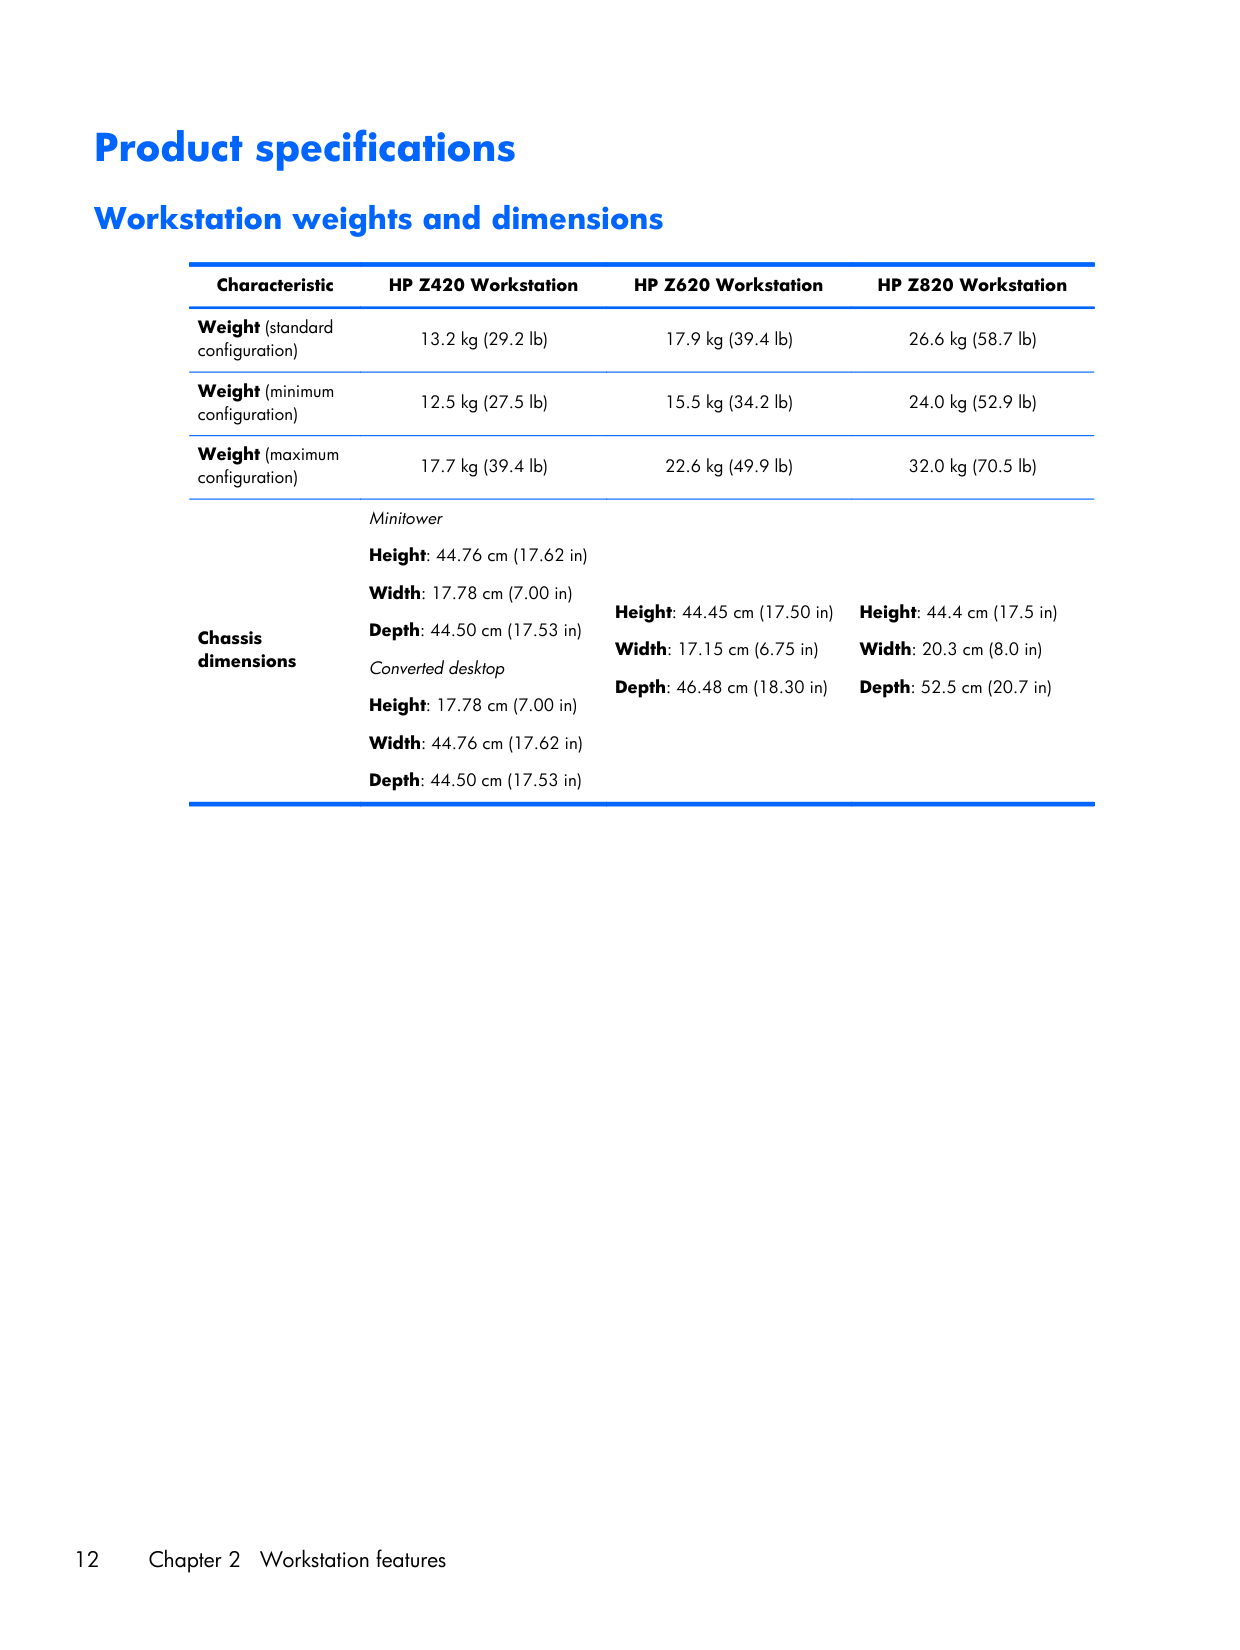
Weight. Standard config is 13.2 kg (29 lb). Minimum 12.5 kg, max around 16 kg. The integrated handles aren't decorative — use them when you move it, and don't trust under-desk slide rails rated below 14 kg.
Operating envelope. 5°C to 35°C ambient, derate 1°C per 305m above 1,524m altitude. Same as the Z440 because it's the same chassis cooling.
Source: pages 12-16 of the user guide
Upgrades that are worth it on a used Z420
- Re-paste the CPU. Cheapest, biggest gain. Idle temps drop measurably, fan ramp is gentler, full-load thermal headroom returns.
- Replace the dust filter felt. OEM part is cheap, prevents the next 18 months of fan-bearing wear.
- Add an SSD via the 2.5" or 3.5" bay. The Z420 doesn't have native NVMe (predates the M.2 spec on workstations), so you're SATA-only without a PCIe adapter card. SATA SSD is still a massive boot-time improvement over the original spinning drive most of these shipped with.
- GPU upgrade. PSU has the right connectors, slot is full-length PCIe 3.0. A modern mid-range GPU works.
Upgrades that aren't
- CPU swap to the top-end chip. The premium for a top-bin Xeon E5-2697 v2 doesn't pay back vs. just buying a Z440 with a v3 chip.
- NVMe via PCIe adapter. Works, but the Z420's BIOS doesn't support NVMe boot natively. You can boot from a SATA drive and use NVMe as data, or jump through hoops with a clover-style bootloader. Not worth the effort — get a Z440 if you want NVMe boot.
Diagnostics
HP Diagnostics (F2 at boot) before you assume anything is bad. It catches a lot of "is this RAM dead" and "is this drive failing" questions before you replace parts.
For service tickets that don't resolve through the obvious checks, https://support.hp.com/us-en/product/details/hp-z420-workstation has the part lookup. Z420 parts are still available but the inventory is shrinking — order ahead if you depend on this machine.
Up the line
- Z440 Workstation — the direct successor, DDR4, modern features
- Z640 Workstation — dual-socket sibling of the Z440 generation
- Z840 Workstation — top-of-line dual-socket high-end