
Ask AI
— answers from the official manualAnswers from the official manual.
Common questions
Common Questions
27 totalHow do I replace the battery in my PARK LITE?
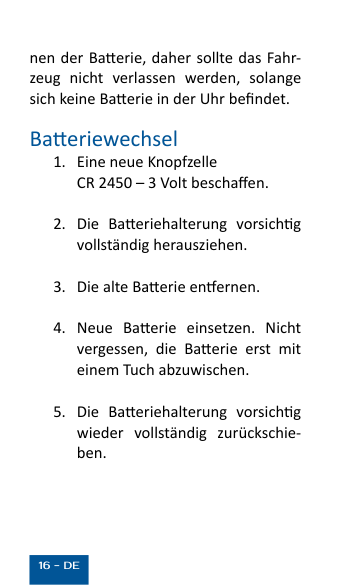
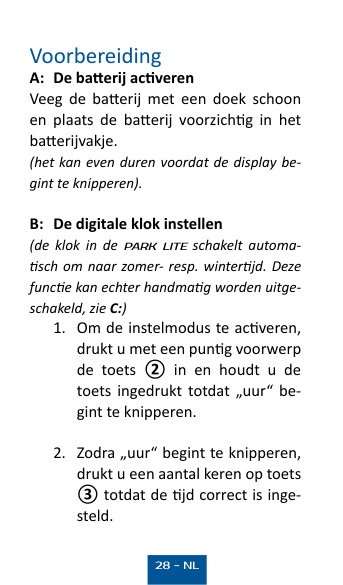
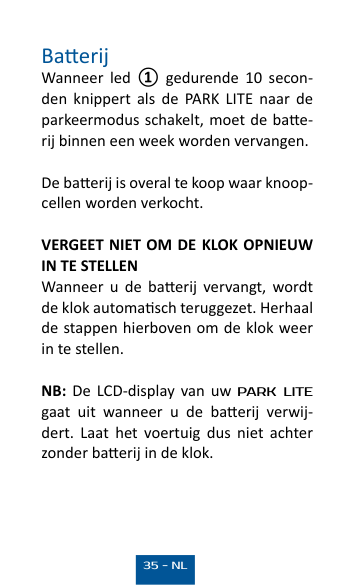
Carefully remove the whole battery holder, then remove the old battery. Wipe the new CR 2450 3 Volt battery with a cloth before inserting it, then carefully replace the whole battery holder. Important: after replacing the battery, the clock is automatically reset and all time settings must be re-entered.
Where exactly must the PARK LITE be mounted in my vehicle?
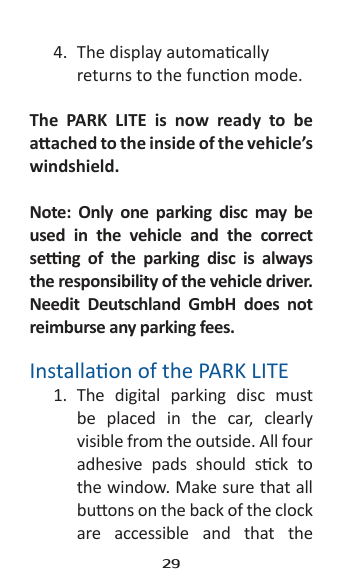
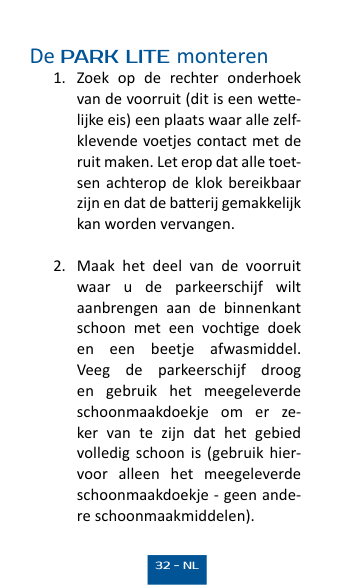
The PARK LITE must be fitted to the front right corner of the inside of the windscreen — this is a statutory requirement. It must not be left loose in the vehicle, as it must be mounted to the windscreen in order to work properly.
What temperature does the windscreen need to be for the adhesive pads to stick properly?
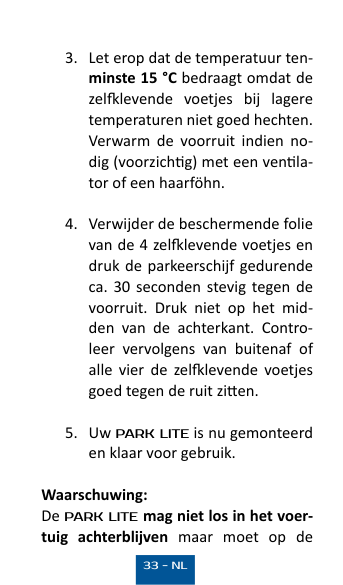
The windscreen must be at least +15 °C, as the adhesive pads do not work correctly at lower temperatures. If necessary, heat the windscreen using the vehicle's fan or very carefully with a hair-dryer.
Can I manually adjust the parking time displayed on the PARK LITE?
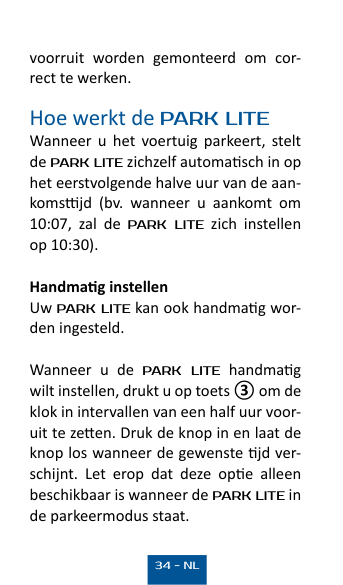
Yes, you can manually set the PARK LITE by pressing button ③, which moves the clock forward in 30-minute intervals. Press and hold the button and release it once the desired time appears. Note that this function is only available when the PARK LITE is in park mode.
What should I avoid to keep my PARK LITE in good condition and maintain the warranty?
Avoid extreme temperatures below -20 °C or above +75 °C, as these can damage the electronics and/or affect the reaction time of the device. If the device contacts water or high humidity, wipe it off immediately with a clean cloth and never use detergents. Never attempt to open the PARK LITE, as this will damage the electronics and invalidate the guarantee.
How do I change the battery in my PARK LITE?
To replace the battery, obtain a new CR 2450-3 Volt battery. Carefully remove the complete battery holder and take out the old battery. Insert the new battery after cleaning it with a cloth. Replace the entire battery holder carefully back into place.
Show 21 more questions
How do I set up the digital clock on my PARK LITE?
What if an error appears when turning off or on park mode in my PARK LITE?
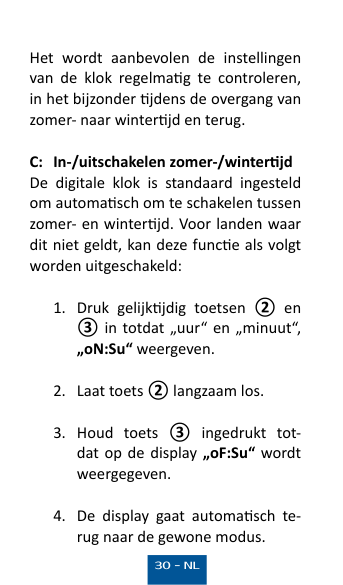
Can I deactivate the automatic summer/winter time change function?
What should I do if the LCD display on my PARK LITE goes out after changing the battery?
How do I manually change the time on my PARK LITE?
How can I install my PARK LITE correctly?
How do I disable the automatic summer/winter time switching?
How does the PARK LITE automatically set the parking time?
How do I set the clock on my PARK LITE for the first time?
How do I know when the battery needs to be replaced?
What type of battery does the PARK LITE use and how long does it last?
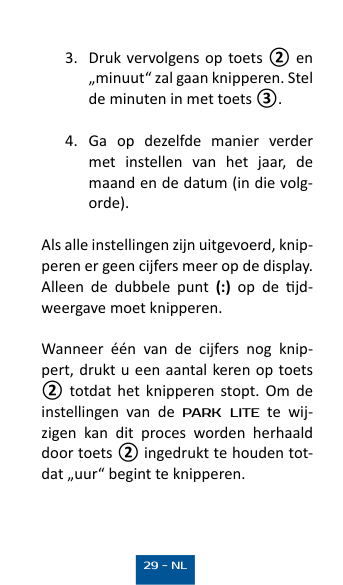
How do I manually set the time?
How do I change the battery?
What happens when the PARK LITE goes into park mode or out of it?
How do I mount the PARK LITE on my windshield?
How do I set the PARK LITE for summer time?
How does the PARK LITE ensure proper display during cold weather?
What are the technical dimensions of PARK LITE?
What should I do if the battery expires soon?
Is there any safety regulation around installing PARK LITE?
How do I reset the clock after changing the battery?
Full Manual
42 pages

PARK LITE
Elektronische Parkscheibe


Gebrauchsanweisung User manual
Inhaltsverzeichnis
Gebrauchsanweisung ..................5 Vorbereitung ................................6 Anbringung der PARK LITE ........10 Funktion der PARK LITE ............13 Batterie ......................................14 Batteriewechsel .........................15 Service und Garantie .................16 Pflege und Wartung ..................18 Zulassungen und Zertifikate ......18 CE-Kennzeichnung ....................19 WEEE .........................................20 Technische Daten und Rechte ...21
vers. DE, 006
1
Diode
3
2

Taste 2 Taste 3
Batterie
Gebrauchsanweisung Herzlichen Glückwunsch zu Ihrer neuen PARK LITE. Mit PARK LITE im Auto brauchen Sie nicht mehr daran zu denken, Ihre Parkscheibe einzustellen und riskieren dadurch keine teuren Strafzettel.
PARK LITE registriert elektronisch die Bewegungen des Fahrzeugs und stellt die Parkscheibe automatisch auf den richtigen Parkzeitpunkt ein, wobei sie den Parkmodus erst beendet, wenn sich das Fahrzeug wieder in Bewegung setzt.
Bitte lesen Sie vor Inbetriebnahme der PARK LITE diese Gebrauchsanweisung sorgfältig durch.
Um eine korrekte Installation der
PARK LITE zu gewährleisten, sollten nachstehende Anweisungen befolgt werden.
Vorbereitung
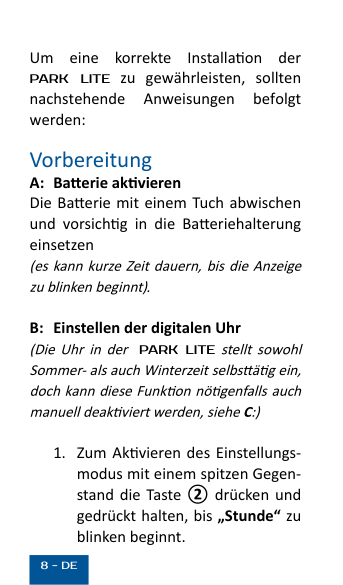
Batteriehalterung einsetzen (es kann eine kurze Zeit dauern, bis die Anzeige zu blinken beginnt).
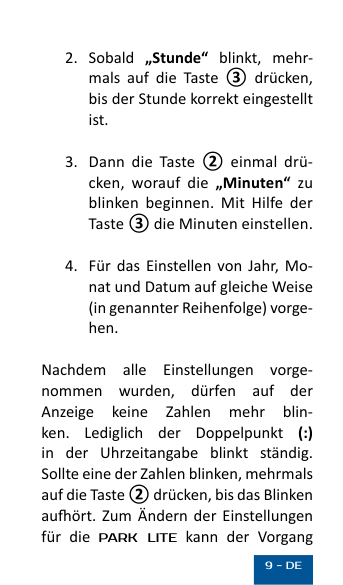
Sobald alles eingestellt ist, sollten bis auf den Doppelpunkt (:) keine Zahlen mehr blinken. Sollte eine Zahl dennoch blinken, drücken Sie die Taste 2 , bis das Blinken aufhört. Zum Ändern der Einstellungen für die PARK LITE kann der Vorgang
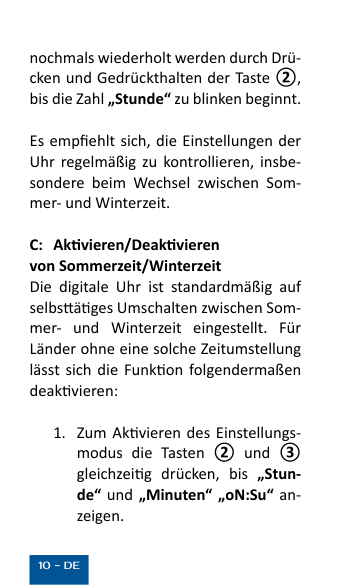
durch Drücken und Gedrückthalten der Taste 2 nochmals wiederholt werden, bis die Zahl „Stunden“ zu blinken beginnt.
Es empfiehlt sich, die Einstellungen der Uhr regelmäßig zu kontrollieren, insbesondere beim Wechsel zwischen Sommer- und Winterzeit.
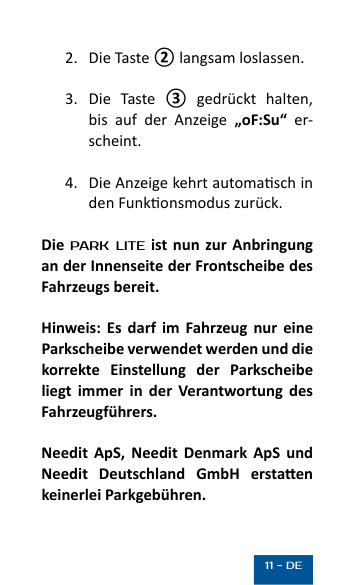
Die PARK LITE ist nun zur Anbringung an der Innenseite der Frontscheibe des Fahrzeugs bereit.
Hinweis: Es darf im Fahrzeug nur eine Parkscheibe verwendet werden und die korrekte Einstellung der Parkscheibe liegt immer in der Verantwortung des Fahrzeugführers.
Needit Deutschland GmbH erstattet keinerlei Parkgebühren.
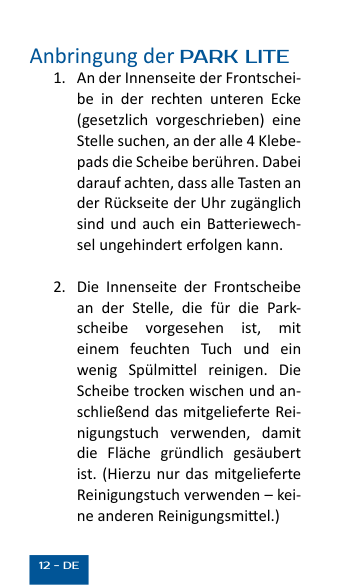
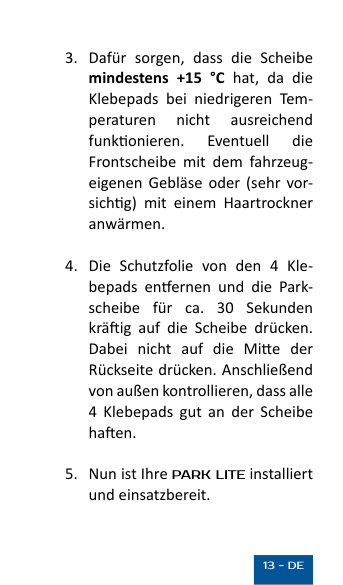
Anbringung der PARK LITE
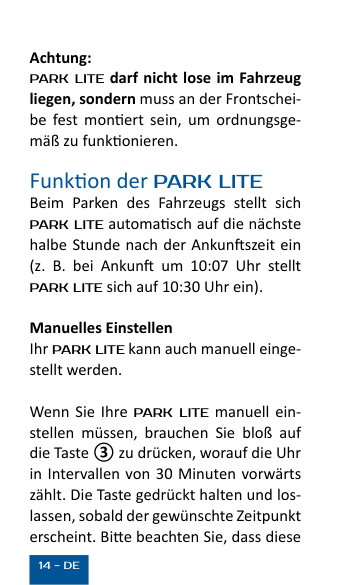
Achtung: PARK LITE darf nicht lose im Fahrzeug liegen, sondern muss fest an der Frontscheibe montiert sein, um ordnungsgemäß zu funktionieren.
Die Ankunftszeit wird nur angezeigt, wenn das Fahrzeug parkt. Während der Fahrt zeigt das Vorderdisplay, um die Batterie zu schonen nichts an. Die Parkscheibe erkennt anhand eines Bewegungssensors, ob das Auto in Bewegung ist oder parkt.
Funktion der PARK LITE Beim Parken des Fahrzeugs stellt sich PARK LITE nach ca. 20 Sekunden automatisch auf die nächste halbe Stunde nach der Ankunftszeit ein (z.B. bei Ankunft um 10:07 Uhr stellt PARK LITE sich auf 10:30 Uhr ein. Bei Ankunft um 10:34 Uhr stellt sich PARK LITE auf 11:00 Uhr ein). Die
Aufrundung der Ankunftszeit auf die nächste halbebzw. volle Stunde entspricht den gesetzlichen Vorgaben.
Manuelles Einstellen Ihre PARK LITE kann auch manuell eingestellt werden.
Um die PARK LITE manuell einzustellen, müssen Sie die Taste
3 drücken, bis die gewünschte Zeit eingestellt ist. Jedes Drücken sind immer 30 Minuten. Bitte beachten
Sie, dass diese Funktion nur verfügbar ist, wenn sich die PARK LITE im Parkmodus befindet.
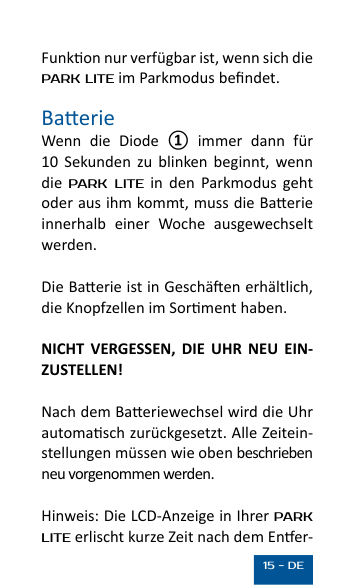
Batterie Wenn die Diode 1 immer dann für 10 Sekunden zu blinken beginnt, wenn die PARK LITE in den Parkmodus geht oder aus ihm herauskommt,
Die Batterie ist in Geschäften erhältlich, die Knopfzellen im Sortiment haben.
Vergessen Sie nicht, die Uhr nach dem Batteriewechsel neu einzustellen!
Nach dem Batteriewechsel wird die Uhr automatisch zurückgesetzt. Alle Zeiteinstellungen müssen wie oben beschrieben neu vorgenommen werden.
Hinweis: Die LCD-Anzeige in Ihrer PARK LITE erlischt kurze Zeit nach
dem Entfernen der Batterie, daher sollte das Fahrzeug nicht verlassen werden, solange sich keine Batterie in der Uhr befindet. Batteriewechsel
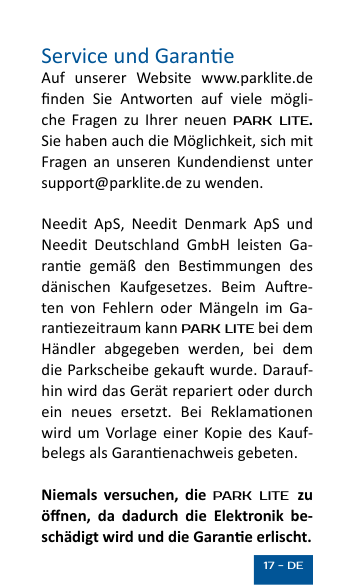
Service und Garantie Auf unserer Website www.parklite. de finden Sie mehr Informationen zu Ihrer neuen PARK LITE. Sie haben auch die Möglichkeit, sich mit Ihren Fragen an unseren Kundendienst unter [email protected] zu wenden.
Needit Deutschland GmbH leistet Garantie gemäß den gesetzlichen Bestimmungen. Beim Auftreten von Fehlern oder Mängeln im Garantiezeitraum kann PARK LITE bei dem Händler abgegeben werden, bei
Versuchen Sie niemals, die PARK LITE zu öffnen, da dadurch die Elektronik beschädigt wird und die Garantie erlischt.
WICHTIG Das richtige Einstellen der Parkscheibe liegt in der Verantwortung des Fahrzeugführers. Etwaige Parkgebühren werden von Needit Deutschland GmbH nicht ersetzt. Ebenso haftet Needit Deutschland GmbH nicht für Montagefehler. Pflege und Wartung
Vermeiden Sie extreme Temperaturen (unter -20° C oder über +75° C), weil dies die Elektronik zerstören und/oder die Reaktionszeit
Kommt die PARK LITE mit starker Feuchtigkeit oder Wasser in Berührung, sofort mit einem sauberen Tuch abwischen.
Zum Reinigen der Parkscheibe nur ein Tuch verwenden. Reinigungsmittel dürfen nicht zum Einsatz kommen.
Zulassungen und Zertifikate PARK LITE besitzt die Zulassung vom Bundesministerium für Verkehr, Bau und Stadtentwicklung unter Verweis auf Verordnung
Nr. 219 zur Ausgestaltung von elektronischen Parkscheiben LA22/7332.5/7/2007868.
PARK LITE besitzt die Zulassung
CE-Kennzeichnung Mit dem CE-Kennzeichen erklärt Needit Deutschland GmbH, dass ihr Produkt die allgemeinen Sicherheitsvorschriften aus

Mit dem CE-Kennzeichen garantiert der Hersteller, dass das Produkt gemäß den EU-weit geltenden Sicherheits-, Arbeitsschutz- und
Umweltanforderungen hergestellt wurde.
Needit Deutschland GmbH erklärt hiermit, dass diese Parkscheibe die Normen aus (CE) EN 55022 (Grenzwerte und Messverfahren für Funkstörungen von Einrichtungen der Informationstechnik) und (CE) EN 55024 (Einrichtungen der Informationstechnik, Störfestigkeitseigenschaften, Grenzwerte und Prüfverfahren) erfüllt. WEEE Elektrische und elektronische Komponenten (EEE) und Materialien können für Gesundheit und Umwelt gefährlich und schädlich sein und sind ordnungsgemäß zu entsorgen. PARK LITE darf nicht über den

normalen Hausmüll, sondern muss als Sondermüll entsorgt werden. Die Batterie kann bei Vertreibern von Batterien abgegeben werden und das PARK-LITE-Gerät selbst kann über eine örtliche Recyclingstation oder durch Rückgabe beim Verkäufer entsorgt werden.
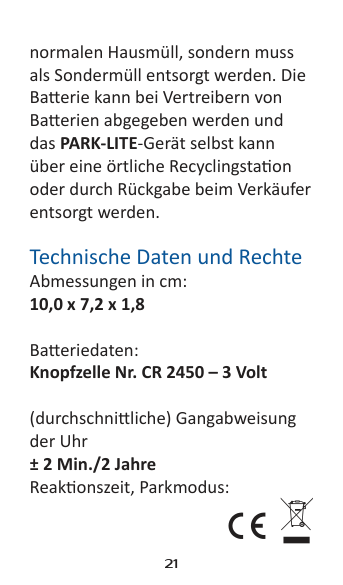
Technische Daten und Rechte Abmessungen in cm: 10,0 x 7,2 x 1,8
Batteriedaten: Knopfzelle Nr. CR 2450 – 3 Volt
(durchschnittliche) Gangabweisung der Uhr ± 2 Min./2 Jahre Reaktionszeit, Parkmodus:
Ca. 20 Sekunden Reaktionszeit, außerhalb des Parkmodus Ca. 20 Sekunden PARK LITE ist patentrechtlich angemeldet. Alle Rechte am Produkt PARK LITE
sind Eigentum von: Needit Deutschland GmbH Friedrichstr. 95 10117 Berlin Deutschland
Telefon: 030585835180 E-Mail: [email protected] Website: www.parklite.de
Änderungen am Inhalt dieser Gebrauchsanweisung vorbehalten.
Table of Content English
Instruction manual ....................25 Preparation ................................26 Mounting the PARK LITE ............30 Function of the PARK LITE .........32 Battery ......................................33 Changing the battery ................34 Service and warranty ................35 Care and maintenance ..............36 Approvals and certificates ........37 CE marking ................................38 WEEE .........................................39 Technical data and rights ..........40
1
Diode
3
2
Button 3
Button 2
Battery
Instruction manual Congratulations on your new PARK LITE. With PARK LITE in your car, you won’t have to remember to adjust your parking disc and risk costly parking tickets. PARK LITE electronically registers the vehicle’s movements and automatically sets the parking disc to the correct parking time, only exiting the parking mode when the vehicle starts moving again.
Please read these instructions carefully before operating the PARK LITE. To ensure proper installation of the PARK LITE, the instructions should be followed.
Preparation
battery holder (it may take a short time for the indicator to start flashing).
Once everything is set, no numbers should flash except for the colon (:). If a number still flashes, press key 2 until the flashing stops. To change the settings for the PARK LITE, the procedure can be repeated by pressing and holding button 2 until the number “hours” starts flashing.
It is recommended to check the clock settings regularly, especially when changing between summer and winter time.
The PARK LITE is now ready to be attached to the inside of the vehicle’s windshield.
Note: Only one parking disc may be used in the vehicle and the correct setting of the parking disc is always the responsibility of the vehicle driver. Needit Deutschland GmbH does not reimburse any parking fees.
Installation of the PARK LITE

Caution: PARK LITE must not lie loose in the vehicle but must be firmly mounted to the windshield in order to function properly.
The arrival time is only displayed when the vehicle is parked. While driving, the front display does not show anything to save the battery. The parking disc uses a motion sensor to detect whether the car is moving or parked.
Function of PARK LITE When parking the vehicle, after about 20 seconds PARK LITE automatically sets itself to the next half hour after the arrival time (e.g. if arriving at 10:07, PARK LITE sets itself to 10:30. If arriving at 10:34 a.m., PARK LITE sets itself to 11:00 a.m.). The rounding up of the arrival time to the next half or full hour is in accordance with the legal requirements.
Manual setting Your PARK LITE can also be set manually.
To set the PARK LITE manually, you
Battery If the diode 1 starts flashing for 10 seconds when the PARK LITE goes into park mode or out of it, the battery needs replacing withing a week. The battery is available from outlets stocking button cell batteries.
Do not forget to reset the clock after changing the battery!
After battery replacement, the clock is automatically reset. All time settings must be reset as described above.
Note: The LCD display in your PARK LITE will turn off a short time after the battery is removed, so do not leave the vehicle until there is a battery in the parking disc.
Battery Replacement
Service and warranty On our website www.parklite.de you will find the answers to many questions about your new PARK LITE. You can also contact our customer service department at support@ parklite.de with any questions you may have.
Needit Deutschland GmbH provides warranty according to the legal regulations. In the event of a fault or defect within the warranty period, PARK LITE can be returned to the dealer where the parking disc was purchased. The device will then be repaired or replaced with a new

one. In the event of a claim, please provide a copy of the sales receipt as proof of warranty.
Never attempt to open the PARK LITE, as this will damage the electronics and void the warranty.
IMPORTANT Proper setting of the parking disc is the responsibility of the vehicle operator. Any parking fees will not be reimbursed by Needit Deutschland GmbH. Likewise, Needit Deutschland GmbH is not liable for installation errors.
Care and maintenance Avoid extreme temperatures (below
-20° C or above +75° C) as this may destroy the electronics and/or affect the response time of the PARK LITE.
If the PARK LITE comes into contact with heavy moisture or water, wipe it off immediately with a clean cloth. Only use a cloth to clean the parking disc. Cleaning agents must not be used.
Approvals and certificates PARK LITE has been approved by the Federal Ministry of Transport, Building and Urban Affairs with reference to Regulation No. 219 on the design of electronic parking discs LA22/7332.5/7/2007868.
PARK LITE has the approval of the Kraftfahrt-Bundesamt (ECE approval no. 10 R - 047203)

CE marking With the CE mark, Needit Deutschland GmbH declares that its product complies with the general safety regulations from the CE marking directives in question.
With the CE mark, the manufacturer guarantees that the product has been manufactured in accordance with the safety, occupational health and safety and environmental requirements applicable throughout the EU.
Needit Deutschland GmbH hereby declares that this parking disc complies with the standards from (CE) EN 55022 (Limits and methods of measurement of radio disturbance characteristics of information technology equipment) and (CE)
EN 55024 (Information technology equipment, immunity characteristics, limits, and test methods).

WEEE Electrical and electronic components (EEE) and materials can be hazardous and harmful to health and the environment and must be disposed of properly.
PARK LITE must not be disposed of with normal household waste, but as hazardous waste. The battery can be taken to battery distributors and the PARK LITE unit itself can be disposed of at a local recycling center or by returning it to the vendor.
Technical data and rights Dimensions in cm: 10.0 x 7.2 x 1.8 Battery data: Button cell no. CR 2450 - 3 Volts (average) rate rejection of the clock: approx. 2 years (average) clock accuracy: ± 2 min./2 years Response time, parking mode: approx. 20 seconds Reaction time, out of park mode approx. 20 seconds PARK LITE is patent pending.
All rights to the PARK LITE product are owned by
Needit Deutschland GmbH Friedrichstr. 95 10117 Berlin Germany
Phone: 030585835180 E-Mail: [email protected] Website: www.parklite.de
The contents of these operating instructions are subject to change without notice.
Needit Deutschland GmbH Friedrichstr. 95 10117 Berlin Deutschland