
Ask AI
— answers from the official manualAnswers from the official manual.
Common questions
Common Questions
9 totalHow do I set the clock?
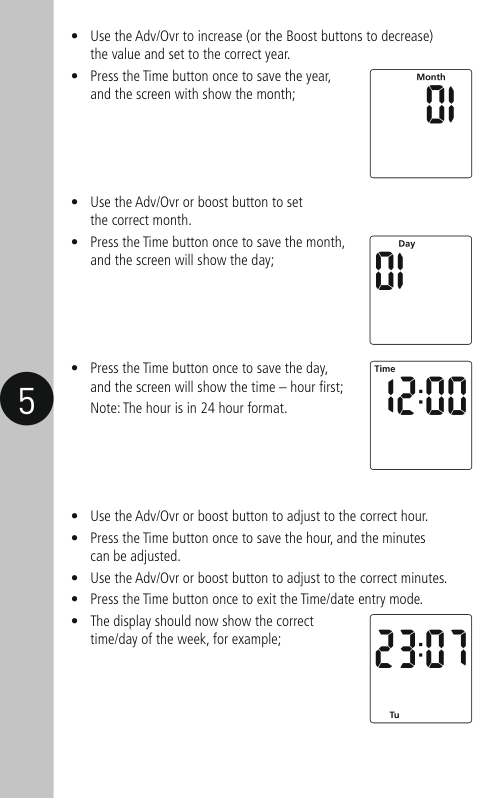
Press and hold the Time button for 3 seconds, then release to enter time and date mode. Adjust year, month, day, hour (24-hour format), and minute using Adv/Ovr or Boost buttons and save settings for each parameter by pressing Time once until all are set correctly.(Page 8)
How do I modify the date and time of day?
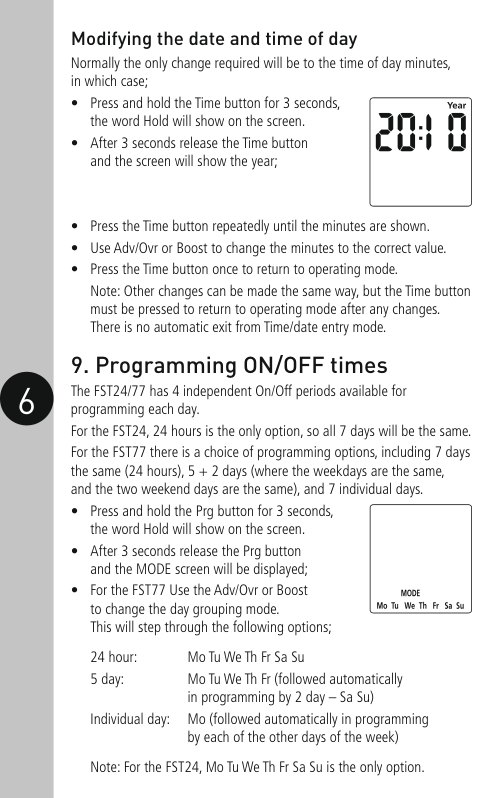
Press and hold Time button for 3 seconds to enter date/time mode, use it repeatedly until minutes display, then adjust with Adv/Ovr or Boost buttons as needed. Save changes by pressing Time once to return to operating mode.(Page 8)
How do I program the ON/OFF times for a day?
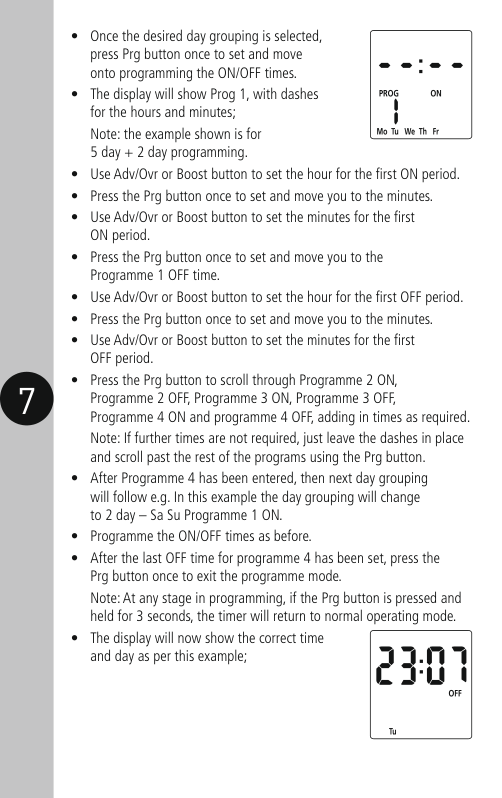
Press and hold Prg button for 3 seconds until 'Hold' shows, then release; Mode screen appears where you can select programming type (24 hour or individual days). Set each ON/OFF time with Adv/Ovr or Boost buttons before pressing Prg to confirm and move on. Continue through all programs and exit by pressing Prg once to save.(Page 9-10)
How do I add boost times?
Pressing the Boost button once will activate a one-hour boost period, pressing it again activates two hours; third press cancels any active boosting and returns to normal mode.(Page 10)
How do I advance or override current programming?
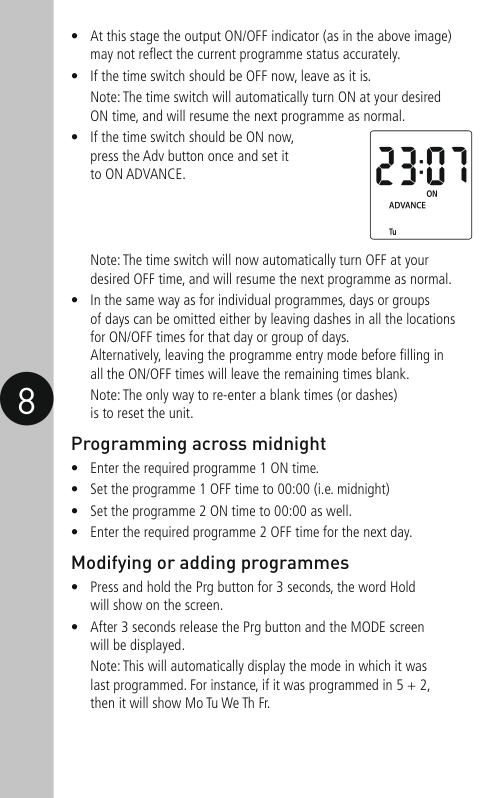
In normal mode, Adv/Ovr button advances program to next time change. Current output state changes (ON ADVANCE, OFF ADVANCE), three presses select permanent ON/OFF status, fourth return to programmed operating mode.(Page 10)
How do I set the safety fuse?
Ensure correct polarity is observed when connecting incoming supply and outgoing load cables; Supply neutral terminal (N IN) for neutral (Blue or Black), Supply live terminal (L IN) for live (Brown or Red). Secure with fixing screws provided, ensuring cables are not trapped or damaged.(Pages 4-5)
Full Manual
12 pages
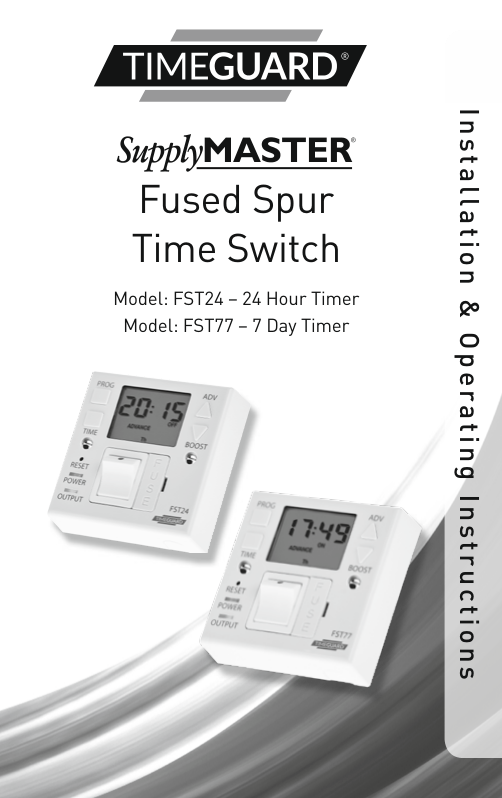

Installation & Operating Instructions
Fused Spur Time Switch Model: FST24 – 24 Hour Timer Model: FST77 – 7 Day Timer


#### 1. General Information
These instructions should be read carefully and retained for further reference and maintenance.
#### 2. Safety
#### 3. Technical Specifications

Halogen lighting 500W Fluorescent lighting 200W LED lighting 100W Compact Fluorescent lighting
Illuminated screen
Sets programmes
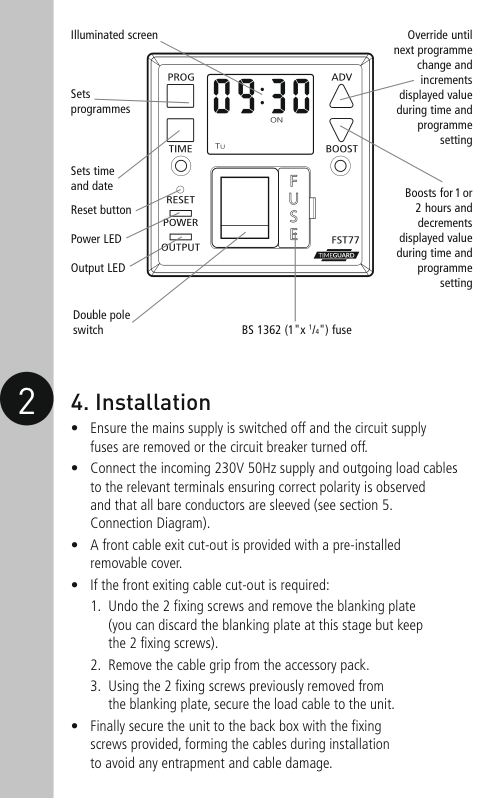
Sets time and date
Reset button
Power LED
Output LED
| | |---| | |
Double pole switch BS 1362 (1"x 1/4") fuse
Override until next programme
change and
increments displayed value
during time and programme setting
Boosts for 1 or 2 hours and decrements
displayed value during time and programme setting
2 4. Installation
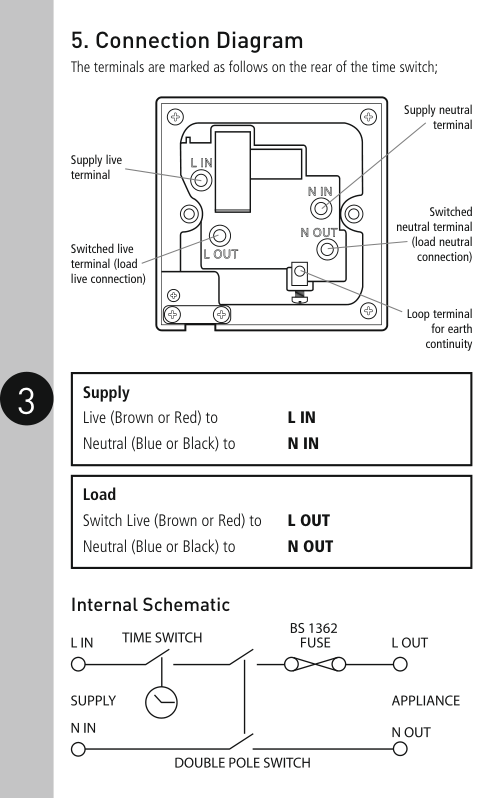
Supply neutral terminal
| | | |---|---| | | | | | |
Supply live terminal
Switched neutral terminal
(load neutral connection)
Switched live terminal (load live connection)
| | | | |---|---|---| | | | |
Loop terminal for earth continuity
|Supply
Live (Brown or Red) to L IN Neutral (Blue or Black) to N IN| |---|
|Load
Switch Live (Brown or Red) to L OUT Neutral (Blue or Black) to N OUT| |---|
Internal Schematic
#### 6 Battery
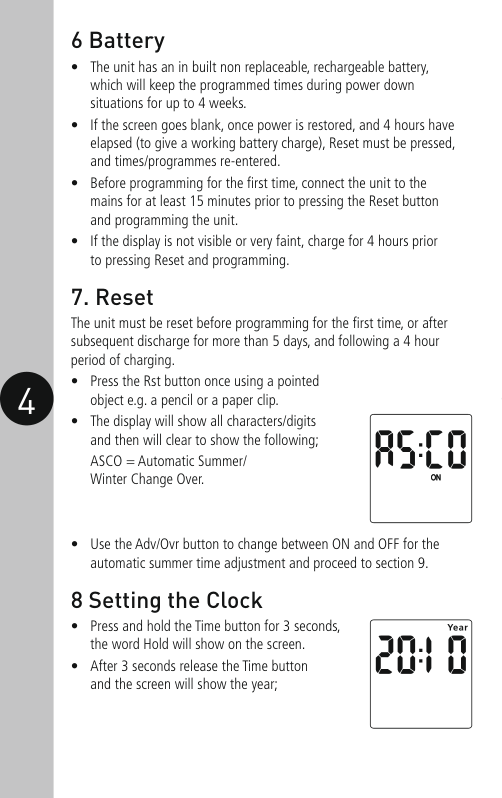
#### 7. Reset
The unit must be reset before programming for the first time, or after subsequent discharge for more than 5 days, and following a 4 hour period of charging.
#### 8 Setting the Clock
| | | | |---|---|---| | | | |
Modifying the date and time of day Normally the only change required will be to the time of day minutes, in which case;
24 hour: Mo Tu We Th Fr Sa Su 5 day: Mo Tu We Th Fr (followed automatically
in programming by 2 day – Sa Su) Individual day: Mo (followed automatically in programming by each of the other days of the week)
Note: For the FST24, Mo Tu We Th Fr Sa Su is the only option.
Note: The time switch will now automatically turn OFF at your desired OFF time, and will resume the next programme as normal.

#### 11. Boost button
3 Year Guarantee In the unlikely event of this product becoming faulty due to defective material or manufacture within 3 years of the date of purchase, please return it to your supplier in the first year with proof of purchase and it will be replaced free of charge. For the second and third years or any difficulty in the first year telephone the helpline on 020 8450 0515.
Note: A proof of purchase is required in all cases. For all eligible replacements (where agreed by Timeguard) the customer is responsible for all shipping/postage charges outside of the UK. All shipping costs are to be paid in advance before a replacement is sent out.

If you experience problems, do not immediately return the unit to the store. Telephone the Timeguard Customer Helpline;
HELPLINE
020 8450 0515
or email [email protected]
Qualified Customer Support Co-ordinators will be on-line to assist in resolving your query.
For a product brochure please contact:
Timeguard Limited. Victory Park, 400 Edgware Road, London NW2 6ND Sales Office: 020 8452 1112 or email [email protected]
www.timeguard.com
67.058.504 (Issue 2)
Zerofour – January 2016