Ask AI
— answers from the official manualAnswers from the official manual.
Common questions
Common Questions
10 totalHow long is the warranty on this mount?
This Limited Warranty covers any defects in material or workmanship for purchases made in the U.S.A. and Canada for a duration of one year. You should keep your original proof of purchase and instruction manual for reference.
What should I do if parts are missing or defective?
If you find the product is defective, damaged, or missing parts, do not return to the store. Instead, contact customer service at 1-888-516-2630, which is available every day from 7am to 9pm CST.
Can I use this mount for outdoor installation?
No, this product is intended for indoor use only. Using this product outdoors could lead to product failure and personal injury.
What is the maximum weight capacity for this TV mount?
The Onn TV mount has a maximum weight capacity of 55 kg (120 lbs). Using the mounting system with products heavier than this rated weight may result in instability and injury.
What size TVs does this mount support?
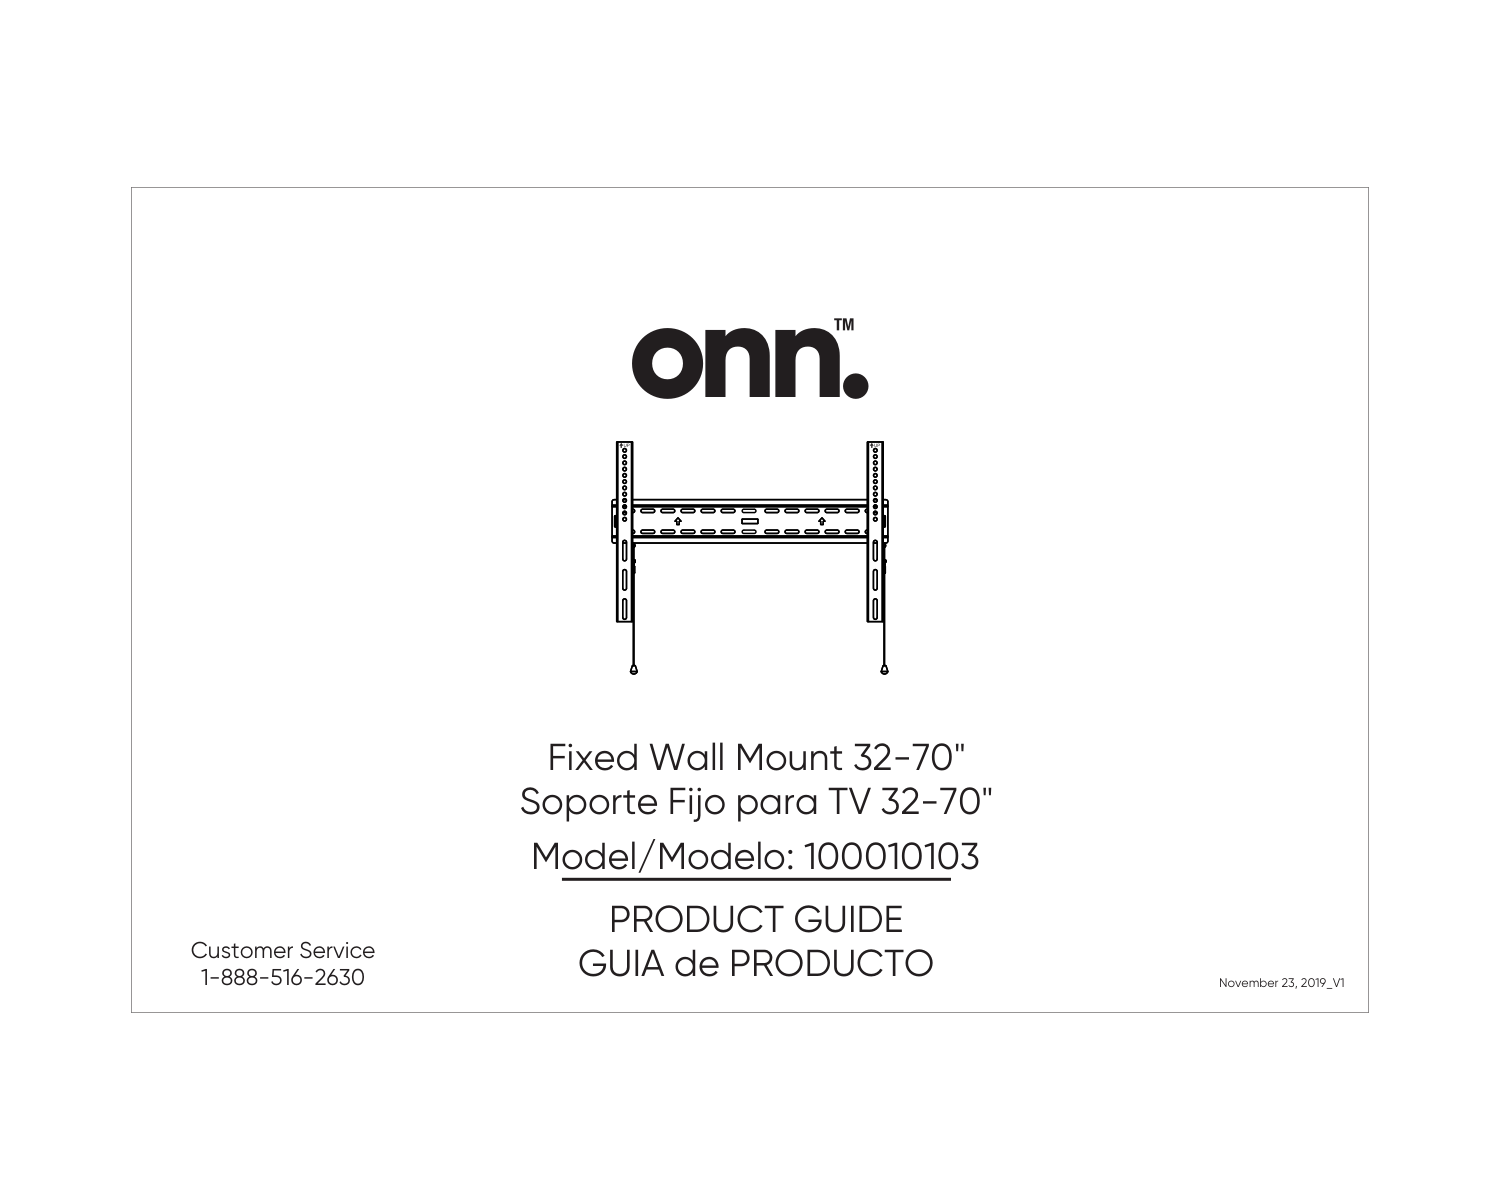
This is a fixed wall mount designed for TVs between 32 and 70 inches. The model number is 100010103.
Do I need to unplug my TV before installation?
Yes, you must always unplug the monitor and connected components from the outlet before putting on or taking off parts during installation. You should also unplug the monitor and connected components before cleaning the mounting system.
Full Manual
11 pages

Fixed Wall Mount 32-70" Soporte Fijo para TV 32-70" Model/Modelo: 100010103
Product Guide
GUIA de PRODUCTOUp
Up
November 23, 2019_V1 Customer Service 1-888-516-2630 onn.
Important Safety Instructions
When using this mounting system, basic precautions should be followed including the following: Read the entire instruction manual before you start installation and assembly. If you have any questions regarding any of the instructions or warning, please contact Customer Service. (See Page 9)Use with products heavier than the rated weight (55Kg/120 lbs) may result in instability and injury.
Caution:
Important
Ensure that you have received all parts according to the component checklist prior to installation. If any parts are missing or faulty, please contact customer service (See page 9 ) for replacement.Danger

ê ! 2
Instrucciones Importantes De Seguridad
Cuando se utiliza este sistema de montaje, se deben tomar precauciones básicas, incluidas las siguientes: Lea todo el manual de instrucciones antes de comenzar la instalación y ensamble de la unidad. Si tiene alguna inquietud con respecto a las instrucciones o advertenencias, Póngase en contacto con el servicio de atención al cliente. (Ver página 9) PRECAUCIÓN: Utilizar con productos de mayor peso al indicado (55 kg / 120lb) en los limites de peso podria ocasionar inestablidad y posibles heridas personales.
M-A - M4x12 (x4) Bolt / Tornillo M-B - M4x35 (x4) Bolt / Tornillo M-C - M5x12 (x4) Bolt / Tornillo M-D - M5x35 (x4) Bolt / Tornillo M-E - M6x12 (x4) Bolt / Tornillo M-F - M6x35 (x4) Bolt / Tornillo M-G - M8x20 (x4) Bolt / Tornillo M-H - M8x35 (x4) Bolt / Tornillo M-I - M8x45 (x4) Bolt / Tornillo W-A - Lag Bolt (x4) Tornillo W-B - Wall Anchor (x4) Anclaje de Pared W-C - Washer (x4) Arandela M-J - M5(x4) Washer / Arandela M-K - M8(x4) Washer / Arandela M-L - 5mm(x8) Spacer / Espaciador M-M - 14mm(x8) Spacer / Espaciador Tool Needed (Not Included) Haramienta Requeride/ No incluidas Power drill Taladro eléctrico Hammer Martillo Stud Finder Detector de vigas Phillips screwdriver Destornillador Phillips Pencil Lápiz Drill Bit Broca 3/16" Drill Bit Broca 3/8" TV Wall Mount Hardware TV Hardware de Soporte A (x1) Wall Plate Unit Unidad de Placa de Pared D (x1) Paper Template Plantilla de Papel B (x1) TV Left Bracket TV Soporte Izquierdo C (x1) TV Right Bracket TV Soporte Derecho 3 1 2 3
Mounting Template
100010103 Scan barcode with Walmart app for more product information including assembly video https://www.walmart.com 6 0 8 1 1 3 1 3 0 8 4 1Warning:
For Stud Mounting Only Use Wall Screws.
Use Palstic Anchors Only For Concrete, Stone Or Masonary Installations.
Do Not Install Tv Mount Only Using The Sheetrock.
Customer Service Toll Free Number : 1-888-516-2630
8" (203.2mm) 16" (406.4mm) November 23, 2019_V1
1A
Never Use Wall Anchors
Nunca Utilice Anclajes
De Pared
D
A
W-C
W-A
4 La instalación de postes de madera requiere una viga de madera de 2x4 pulgadas como mínimo con una pared seca de 3/8 de pulgada de espesor. Localice las vigas con un detector de vigas. Sostén el plantilla de papel (D) contra la pared para marcar cuatro agujeros. Comprobar el nivel con el nivel de burbuja y taladrar los agujeros con una broca de 3/16" (4.5mm) a una profundidad de 2.2 (55mm). Fijar la placa de pared (A) con cuatro tornillos (W-A) y arandelas (W-C) con un destornillador Phillips. Wood Stud installation requires a minimum 2x4 inch wood stud with 3/8 inch thick dry wall. Locate studs with a stud finder. Hold the paper template (D) against the wall to mark two holes. Check level with the bubble level and drill holes with a 3/16" (4.5mm) drill bit to a depth of 2.2" (55mm). Attach wall plate (A) with two bolts (W-A) and washers (W-C) using a Phillips screwdriver November 23, 2019_V1
1B
Concrete wall installation requires a minimum of 8 inch thick solid concrete. Hold the paper template (D) against the wall to mark four holes. Check level with the bubble level and drill holes with a 3/8" (10mm) drill bit to a depth of 2.2" (55mm). Tap four wall anchors (W-B) into the wall using a hammer. Attach wall plate (A) with four bolts (W-A) and washer (W-C) using a Phillips screwdriver.D
W-B
W-C W-A
A
1 2 10mm 3/8" 5 La instalación de paredes de concreto requiere un mínimo de 8 pulgadas de espesor de concreto sólido. Sostenga la plantilla de papel (D) contra la pared para marcar cuatro orificios. Comprobar el nivel con con el nivel de burbuja y taladrar los agujeros con una broca de 3/8" (10mm) a una profundidad de 2.2 (55mm). Golpee cuatro anclajes de pared (W-B) en la oared con un martillo. Fijar la placa de paed (A) con cuatro tornillos (W-A) y arandelas (W-C) usando un destornillador Phillips. November 23, 2019_V1
2 With a Phillips screwdriver, attach the left TV bracket (B) and right TV bracket (C) to the back of the TV where shown. Choose the appropriate bolts, washer, and spacers for your TV. Make sure that the pull straps are nearest to the left (B) or right (C) edges of the TV respectively. 6 Con un destornillador Phillips, fije el soporte izquierdo del televisor (B) y el soporte derecho del televisor (C) en la parte posterior del televisor donde se muestra. Elija los pernos, la arandela y los espaciadores adecuados para su televisor. Asegúrese de que las correas de tracción estén más cercanas a los bordes izquierdo (B) o derecho (C) del televisor, respectivamente.
M-L
C
B
M-A/C/E
M-A/C/E/G
M-B/D/F/H
M-B/D/F/G/H
M-B/D/F/G/H
M-I
M-I/J
M-I/J
M-I/J
M-I/J
M-I/J
M-I/J
M-K
M-K
M-L
M-M
M-L
November 23, 2019_V1
3 DOS PERSONAS deben colgar la TV con los soportes (B y C) en la placa de pared (A). El pestillo que se muestra a continuación hará clic cuando la TV se trabe correctamente en su lugar. Wall Wall 7 TWO PEOPLE must hang the TV with the TV bracket (B and C) on the wall plate (A). The latch shown below will click when the TV is properly locked into place. November 23, 2019_V1 The pendents have a magnetic button on the end so that you can stick them to the bracket to keep them out of sight.

4 TWO PEOPLE are needed to remove your TV from the wall. While one person holds the TV, the second person pull down on both release straps, unlocking the TV. TWO PEOPLE must hold and then remove the TV from the wall by first lifting up. Se necesitan DOS PERSONAS para quitar su televisor de la pared. Mientras una persona sostiene el televisor, la segunda persona tira de ambas correas de liberación y desbloquea el televisor. DOS PERSONAS deben sostener y luego quitar el televisor de la pared levantando primero. Wall Wall 8 November 23, 2019_V1

Guarde su comprobante de compra original (recibo de la tienda). Si después de la inspección encuentra que el producto tiene piezas defectuosas, dañadas o faltantes, NO regrese a la tienda. Comuníquese con el servicio al cliente al 1-888-516-2630 todos los días, de 7 am a 9 pm, CST. Product Warranty Thank you for your purchase. This Limited Warranty cover any defects in material or workmanship for purchases made in the U.S.A. and Canada, and excludes claims from conditions, malfunctions or damage not resulting from defects in material or workmanship. The warranty duration is one year. Please Keep this instruction Manual for future reference. Garantía de Producto Gracias por su compra. Esta Garantía limitada cubre cualquier defecto en el material o la mano de obra para compras realizadas en los EE. UU. Y Canadá, y excluye reclamos por condiciones, mal funcionamiento o daños que no resulten de defectos en el material o la mano de obra. La duración de la garantía es de un año. Guarde este manual de instrucciones para referencia futura. Distributed by/Distribuido por Wal-Mart Stores, Inc. Bentonville, AR 72716 Keep your original proof of purchase (store receipt). If after inspection you find the product is defective, damaged or missing parts, DO NOT return to the store. Please contact customer service at 1-888-516-2630 every day, 7am-9pm CST. 9 November 23, 2019_V1

10 November 23, 2019_V1 We‘d love to hear from you. Scan with your Walmart app and let us know what you think. 6 0 8 1 1 3 1 3 0 8 4 1